
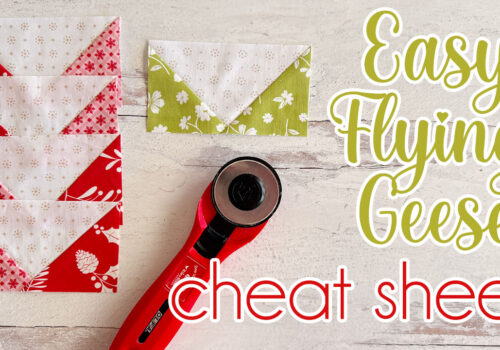
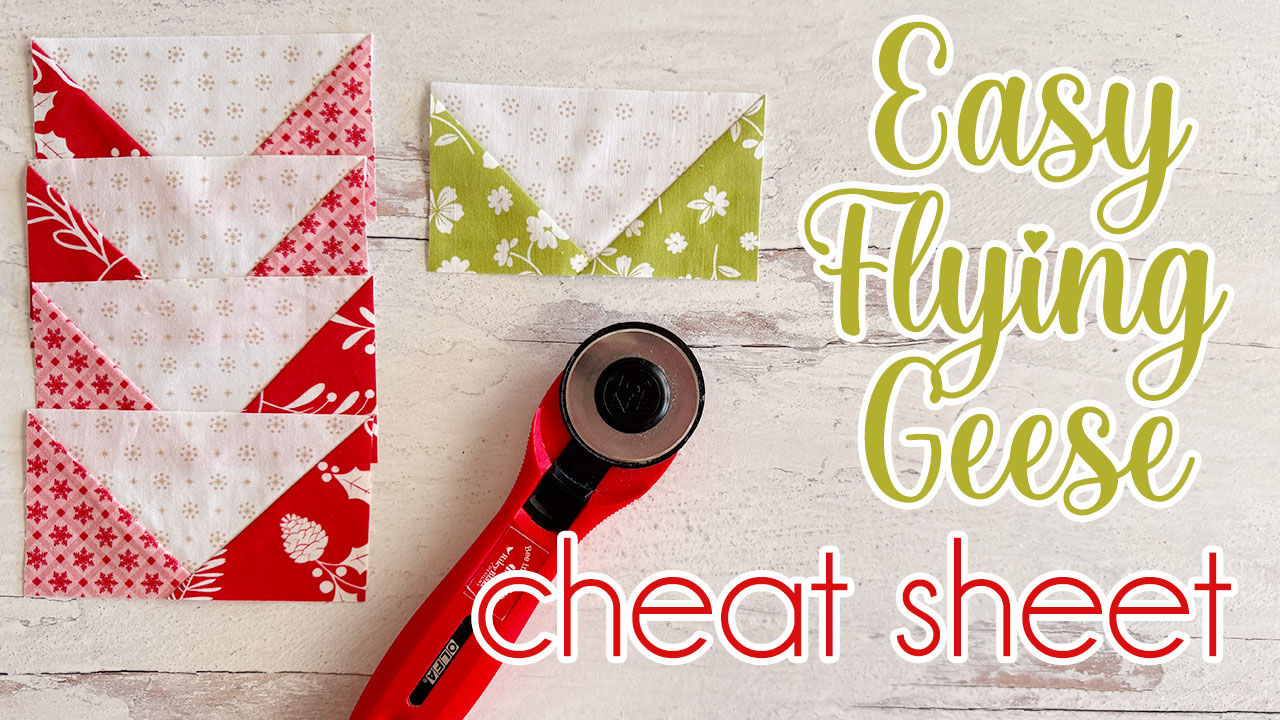
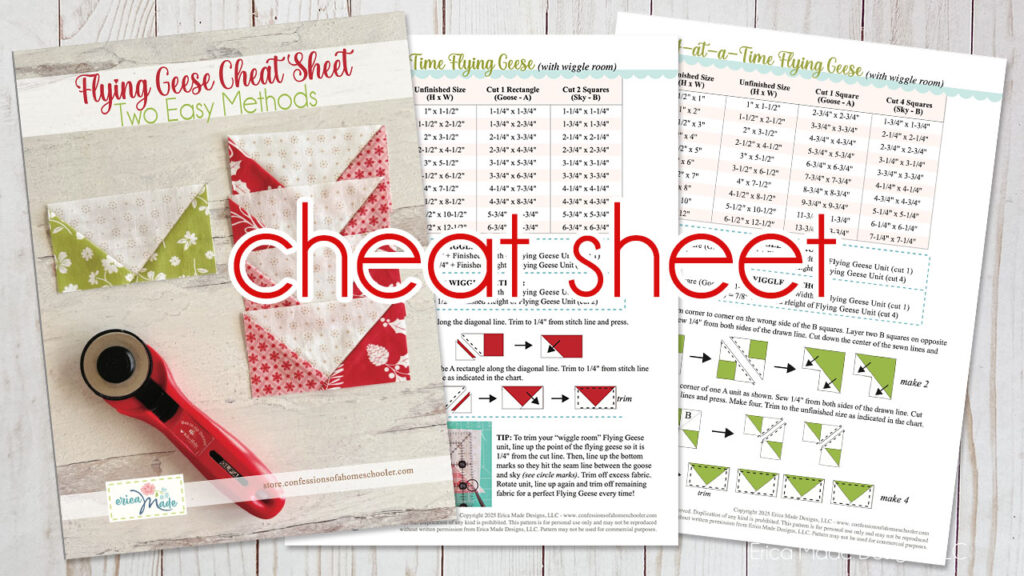
Flying geese blocks are a staple in quilting, and once you learn how to make them, you’ll find they’re incredibly versatile and beautiful in so many designs! Whether you’re a brand-new quilter or just looking for a way to add some fun to your projects, I’ve got you covered with two easy methods to make these classic blocks. Plus, I’ve created a free downloadable Flying Geese Chart with cutting instructions for various sizes of Flying Geese, so you’ll never be guessing your measurements again!
In my video tutorial, I show you how to create Flying Geese in two ways:
- One at a time – the traditional method, where you make one Flying Geese unit per block.
- Four at a time – a faster method that’s great for creating multiple units at once.
Let’s dive into the steps and get you making beautiful Flying Geese with ease!
Watch the Easy Flying Geese Video tutorial here!
What is a Flying Geese Block?
Before we jump into the tutorial, let’s quickly review what a Flying Geese block is. The block consists of one large triangle in the center, flanked by two smaller triangles on each side, resembling a flying bird (hence the name!). The block can be used in countless quilt designs, and it’s a great way to practice your piecing skills.
Method 1: Making One Flying Geese Unit at a Time
This is the classic, tried-and-true method for creating a Flying Geese unit. While it takes a bit longer, it’s a great technique for beginners, as it allows you to focus on making one unit at a time. Here’s how you do it:
Materials:
- 1 large rectangle (this will be the center of your Flying Geese block)
- 2 smaller squares (for the top triangles of the Flying Geese)
Steps:
- Cut your fabric: Use the cutting chart I’ve provided in the free download for accurate measurements.
- Draw a diagonal line: On the back of your two smaller squares, draw a diagonal line from one corner to the opposite corner.
- Position the squares: Place one of the squares right sides together with the large rectangle, aligning one corner with the top edge of the rectangle. The drawn diagonal line should be facing up.
- Sew along the diagonal: Sew directly along the diagonal line.
- Trim and press: Trim the excess fabric, leaving a 1/4-inch seam allowance, then press the fabric open.
- Repeat with the second square: Place the second square on the opposite end of the large rectangle, and repeat the sewing and pressing steps.
- Final press: Once both triangles are attached, press and trim your Flying Geese block.
Method 2: Making Four Flying Geese Units at a Time
If you’re looking to make multiple Flying Geese blocks in less time, this method is for you! It’s a fun, efficient technique where you create four Flying Geese units from just two pieces of fabric. Here’s how you do it:
Materials:
- 1 large rectangle (this will be the center of your Flying Geese block)
- 4 smaller squares (for the triangles)
Steps:
- Cut your fabric: Refer to the free downloadable chart for accurate measurements.
- Draw diagonal lines: Draw a diagonal line on the back of each small square. These lines will guide your sewing.
- Arrange the squares: Place two of the smaller squares on opposite corners of the large rectangle, right sides together so the lines connect. You should have two squares at the top corners and two at the bottom.
- Sew along the diagonal: Sew 1/4-inch seams on both sides of each diagonal line.
- Cut apart and press: Cut along the diagonal lines, creating two triangles from each square. Press the triangles open.
- Sew again: Now, place the remaining two squares on the other ends of the large rectangle, and repeat the sewing and trimming steps.
- Press again: Press all seams to finish your four Flying Geese blocks at once!
Why Use These Methods?
- Accuracy: Both methods ensure you get precise Flying Geese blocks, which is key to a polished quilt.
- Time-Saving: If you need several Flying Geese blocks, the “four at a time” method is a huge time-saver!
- Flexibility: Whether you prefer working one unit at a time or want to quickly make multiple units, you can choose the method that works best for your project and skill level.
Free Downloadable Cutting Chart
To make your life easier, I’ve created a free downloadable Flying Geese Chart that includes cutting instructions for various sizes of Flying Geese units. Simply download it and print it out for handy reference while you work through these methods!
Final Thoughts
Flying Geese are a fantastic beginner-friendly block that will elevate your quilting skills in no time. Whether you’re making one unit at a time or crafting several at once, you’ll be amazed at how quickly you can create these beautiful blocks.
Be sure to check out the video tutorial for a visual guide. I can’t wait to see all of your beautiful Flying Geese creations!
Happy quilting! ✂️✨