

Get the Happy Harvest Quilt + Fabric Kit here!
Watch the Happy Harvest Quilt + Fabric Release video on YouTube!
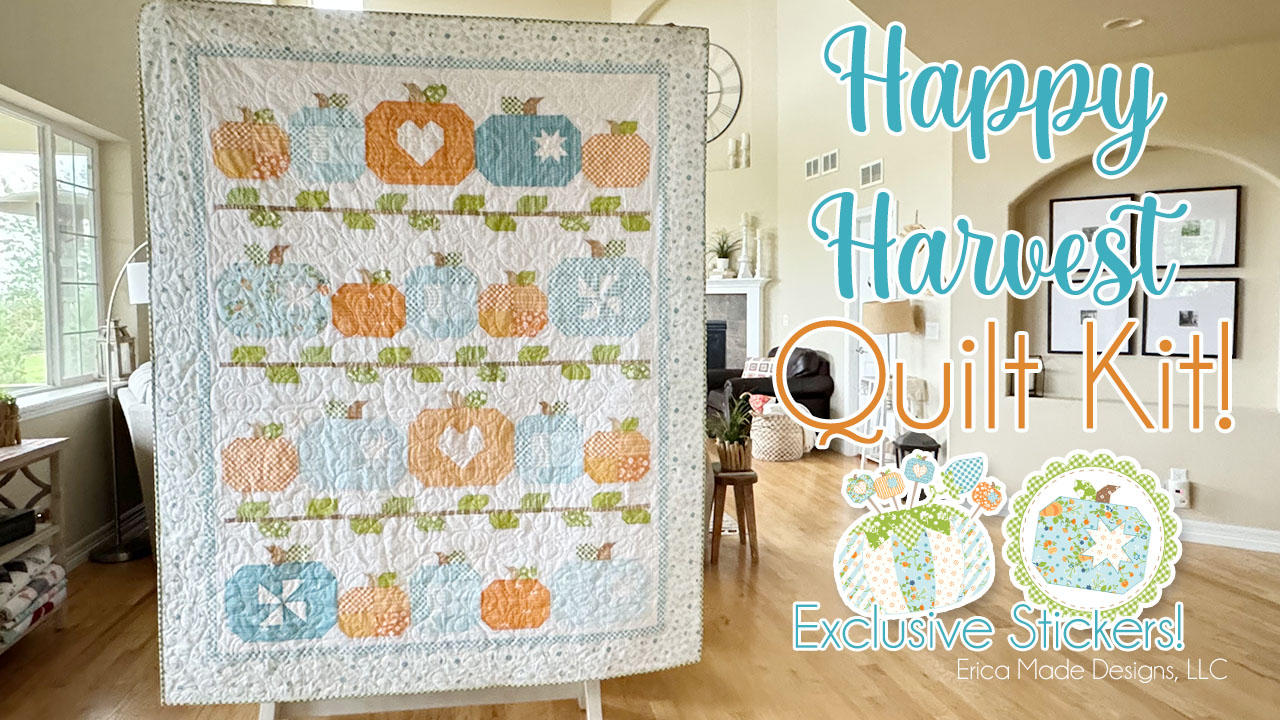
Quilt Finished Size:
- Pillow finishes at 62” x 77”
Quilt Kit Includes:
- Happy Harvest Quilt Pattern
- All fabric needed for quilt top! (Including background, backing, and binding fabric!)
- Green Gingham Binding Fabric
- Aqua OR Cream Pumpkin Backing Fabric
- Exclusive Pumpkin and Pincushion Stickers!
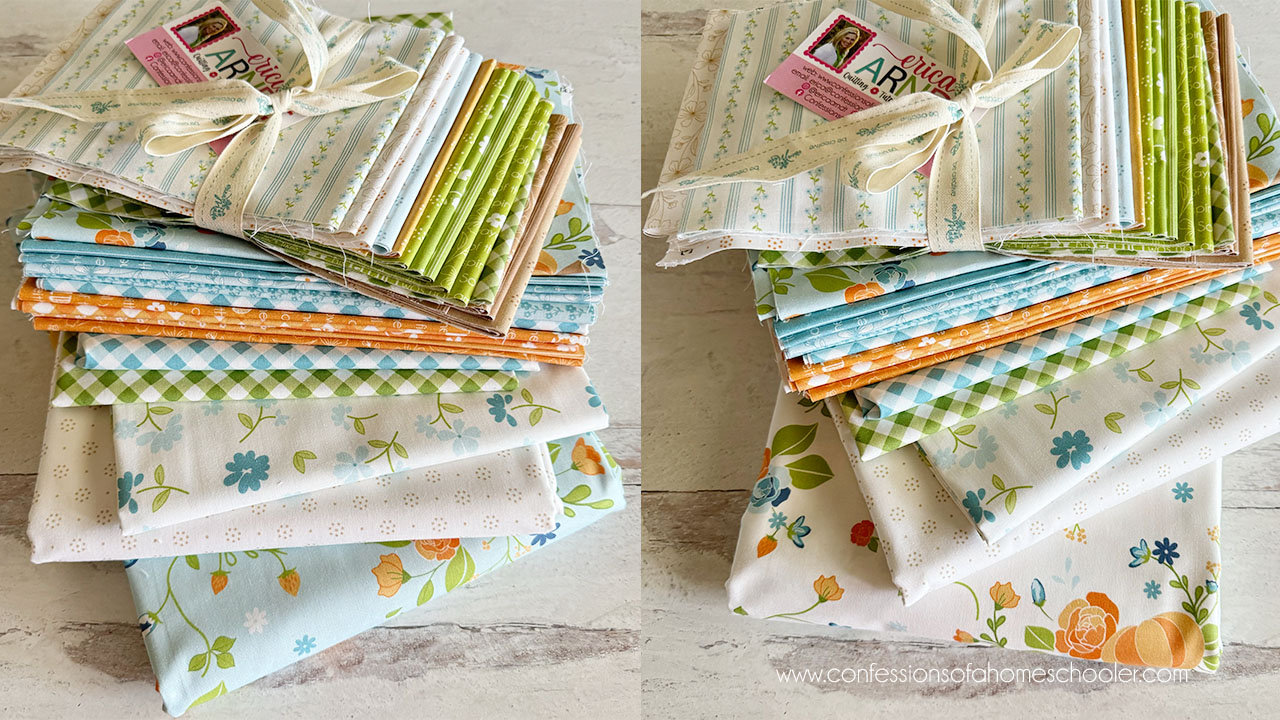
Fabric Requirements:
- Background fabric: 2-1/2 yards
- Green: (6) 1/8 yard or F8s (F8=9″ x 21″)
- Orange: (6) 1/4 yard or FQs (FQ=18″ x 21″)
- Blues: (7) 1/4 yard or FQs
- Tan: (3) 1/8 yard or F8s
- Low Volume: (3) 1/8 yard or F8s
- Blue Border: 3/8 yard
- Low Vol. Border: 1-1/8 yards
- Binding: 5/8 yard
- Batting/Backing: 4-3/4 yards
Fabric Used:
- Prints: Erica Made Designs Harvest
- Background: Harvest Low Volume White/Tan Dot
- Backing: Harvest Blue Gingham, Pumpkin Aqua, and Pumpkin Cream
I have two kit options available for you! The first one has the Harvest Pumpkin in Aqua and the second has the Pumpkin Harvest in Cream. The kits will include everything you need to make the entire quilt top, backing, and binding! The only thing you need is your favorite quilt batting and you’re all set!
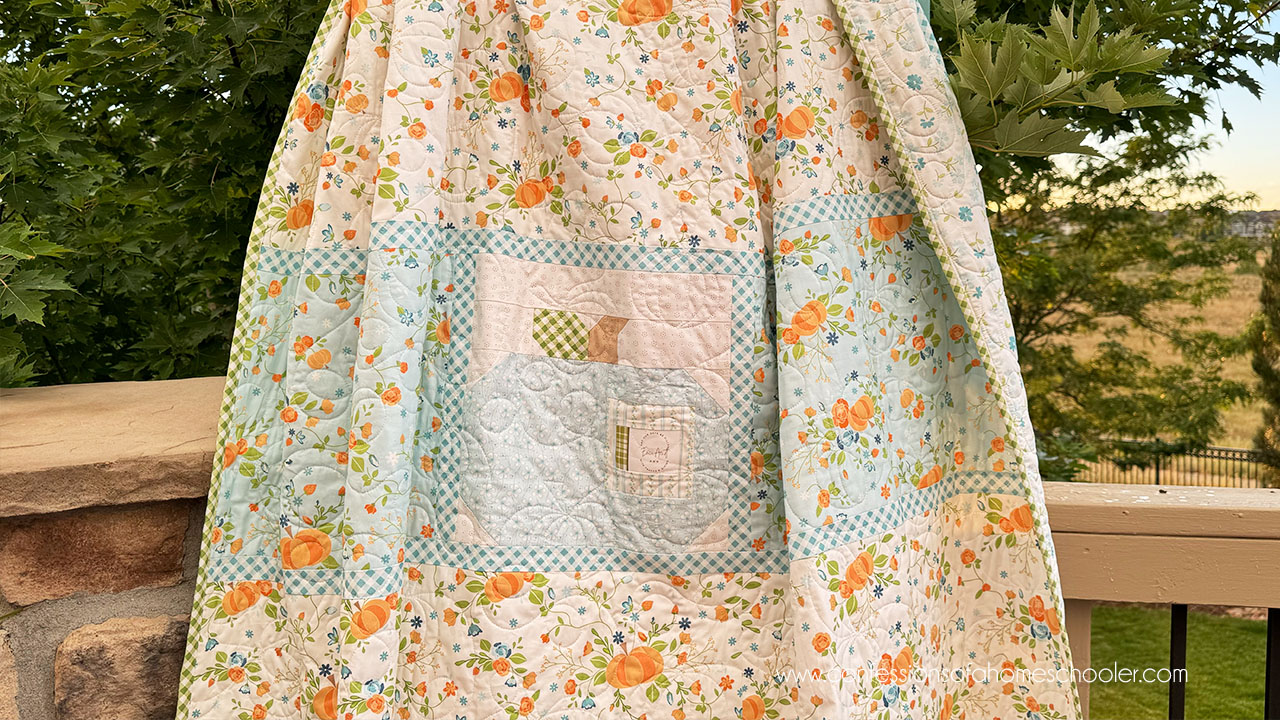
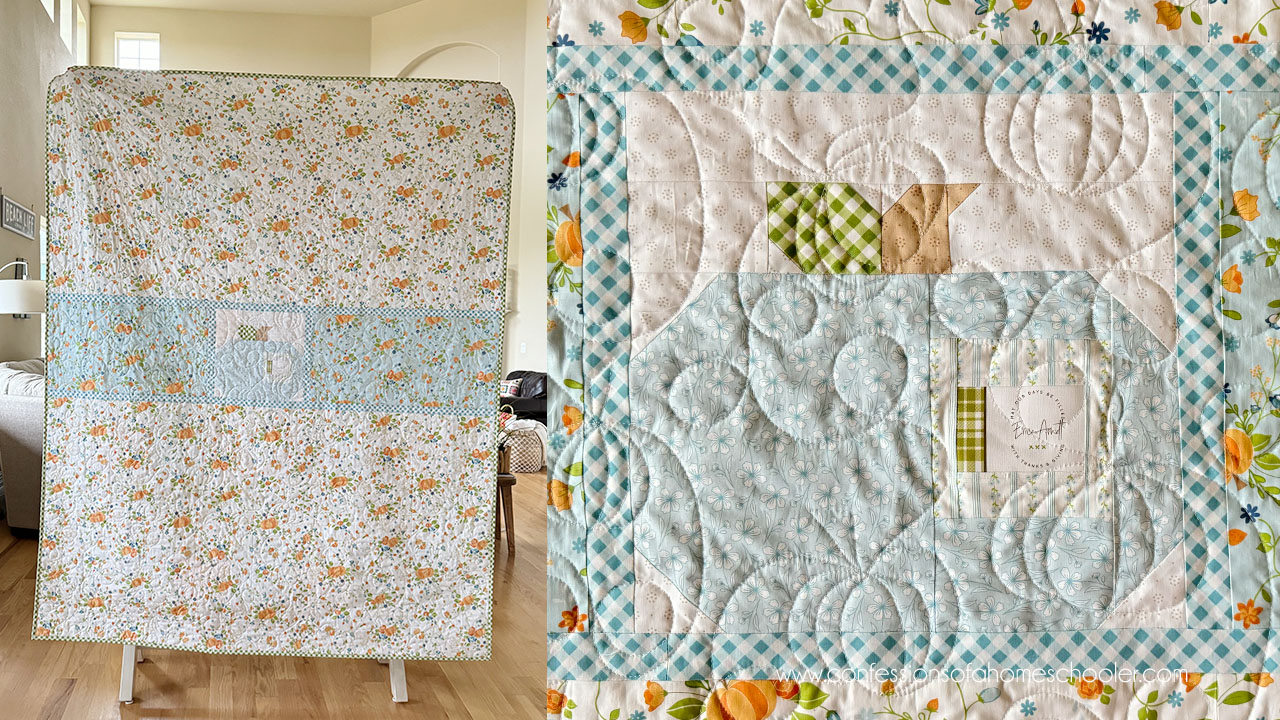
Optional Pieced Backing:
I didn’t order enough backing fabric, so I did a pieced backing for my quilt. They look great, add a little pizzazz to the back sides, and use up all of your leftovers from the quilt top! I used my leftovers to make an extra Star Pumpkin block and added my personalized label to that. Then did a little math and pieced together the rest of the backing.
If you purchased the Harvest Fabric Kit, you will have enough leftovers to make an extra pumpkin block for the back, but you may need to do a little creative piecing for the side panels. The pattern has instructions for a full backing, but if you’d like to do something similar to what I have done, here is all of the information for you:
- (1) 12″ x 12″ Star Pumpkin Block (I added a label where the star would have been)
- White Main Backing Pieces: (2) 35″ x 70″ (A)
- Blue Side Panel Pieces: (2) 12-1/2″ x 28″ (B)
- Blue Gingham Strips: (2) 1-1/2″ x 12-1/2″ (C) and (2) 1-1/2″ x 70″ (D)
I chose to make an extra pumpkin star block, but instead of making the star unit, I used that section to add a cute label. The label is from my Sweetwater Fabric Tagged subscription.
Next, I sewed a gingham strip (C) to each side. Then, I added the blue side panels (B) to each side.
I then sewed the blue gingham strips (D) to the top and bottom. And finally, I added the White Main Backing top and bottom pieces. I probably should have done the pumpkin in an orange so it would stand out a little better! Oh well, it’s cute in person and I love it!
Will you have more Happy Harvest quilt kits available? Thank you for offering the pattern in paper format.
I’m so sorry, they’re sold out, but we will have a holiday kit coming soon! 🙂
I am so disappointed that all the quilt kits are gone!!! Your fabric is absolutely beautiful and I love it!!!! I really hope that you will be able to produce more fabric and kits soon!!
I watch all your videos and tutorials and have learned a lot!! Thanks for all you do!!!
Rhonda
Thanks so much! I know they went really fast! But stay tune, I’ll have new kits and more projects coming soon!
Want to buy paper pattern
Hi Jeane, You can find the paper pattern here: https://store.confessionsofahomeschooler.com/index.php?main_page=product_info&cPath=96&products_id=814