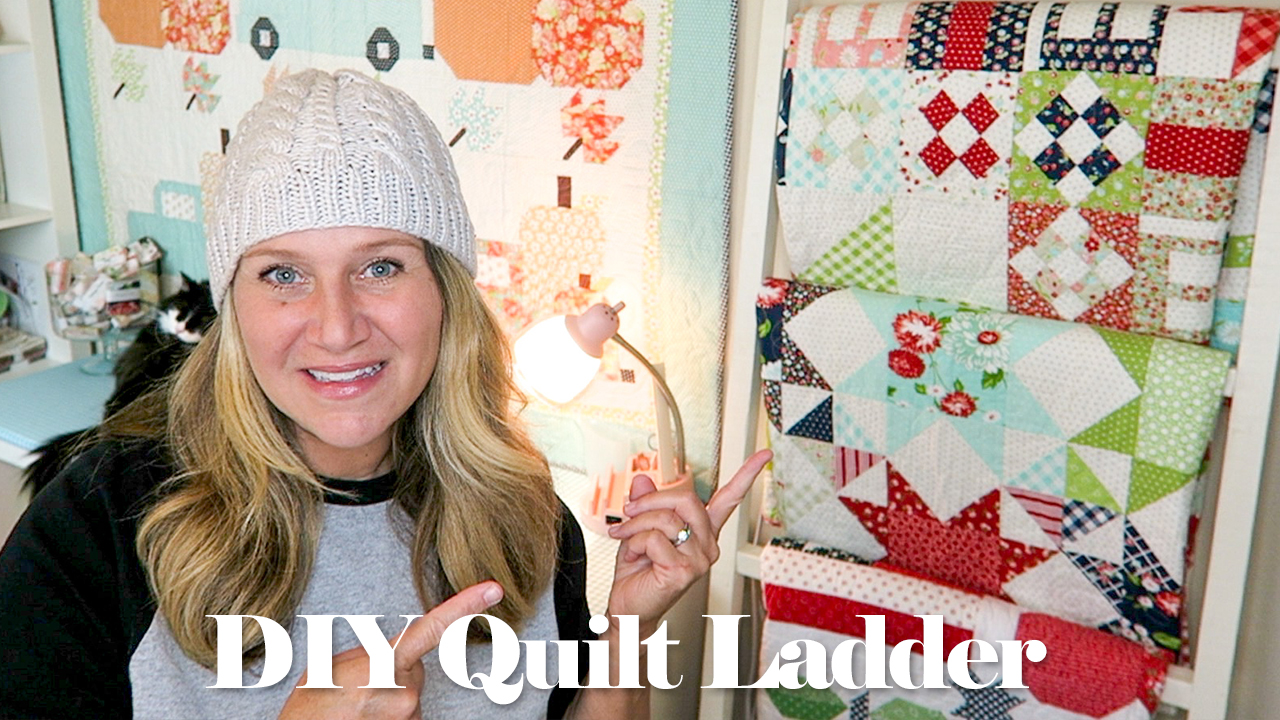
I get so many questions on how I made my quilt ladder so today I’ll be showing you what I did!
It’s nothing fancy, and super easy, literally anyone can do it!
Are ready to get started? Watch my easy DIY Quilt Ladder Video Tutorial here!
SUPPLIES:
- Three 2x2x8 pieces of wood
- Eight 3″ screws
- Optional: Annie Sloan Antique White Chalk Paint and clear wax
CUT:
- Cut two of the pieces of wood to 6′ long.
- Cut the third piece into four equal pieces approx. 23″ long each.
ASSEMBLY:
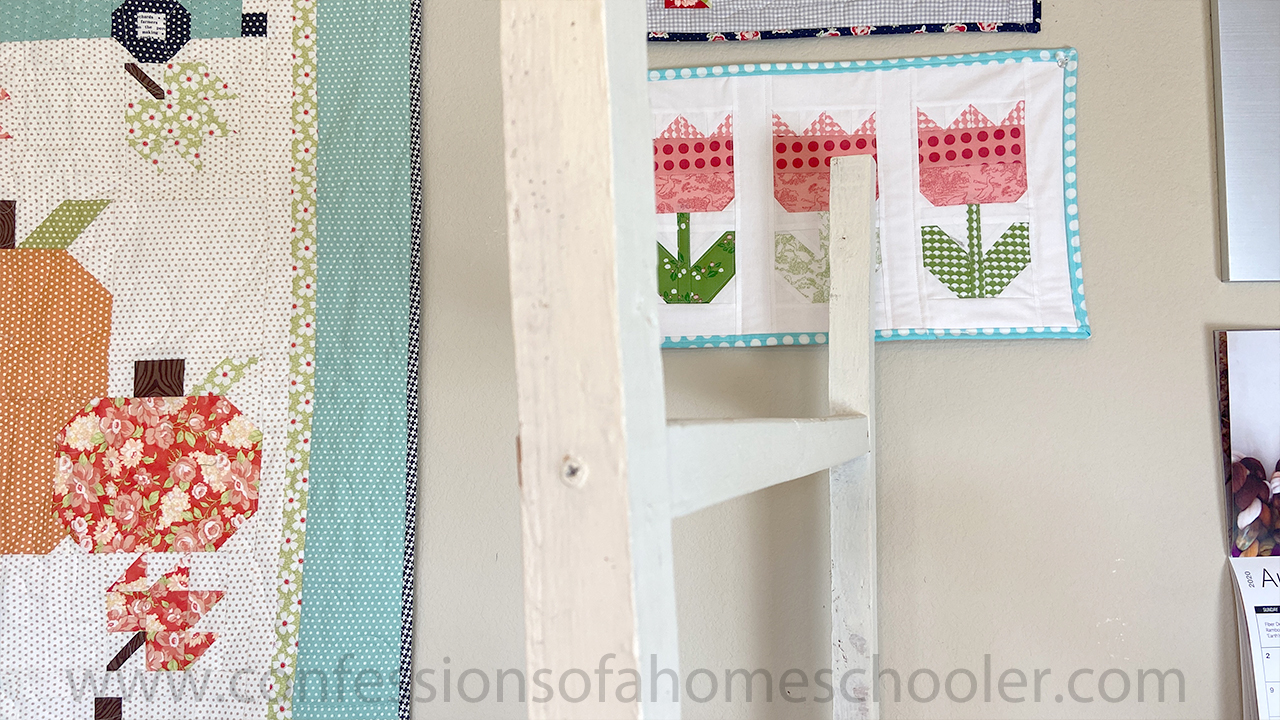
- Place the first horizontal 23″ piece approx. 9″ down from the top of the two 6′ pieces and screw into place.
- Place the remaining three 23″ pieces approx. 12″ apart, screw each into place.
FINISH:
Paint using Annie Sloan’s chalk paint and wax. (By the way, I have tried less expensive chalk paint and it is NOT as good in my opinion. So I do recommend getting the Annie Sloan brand for this project if you plan to use chalk paint! If you have a brand of chalk paint you like, leave it in the comments below!)
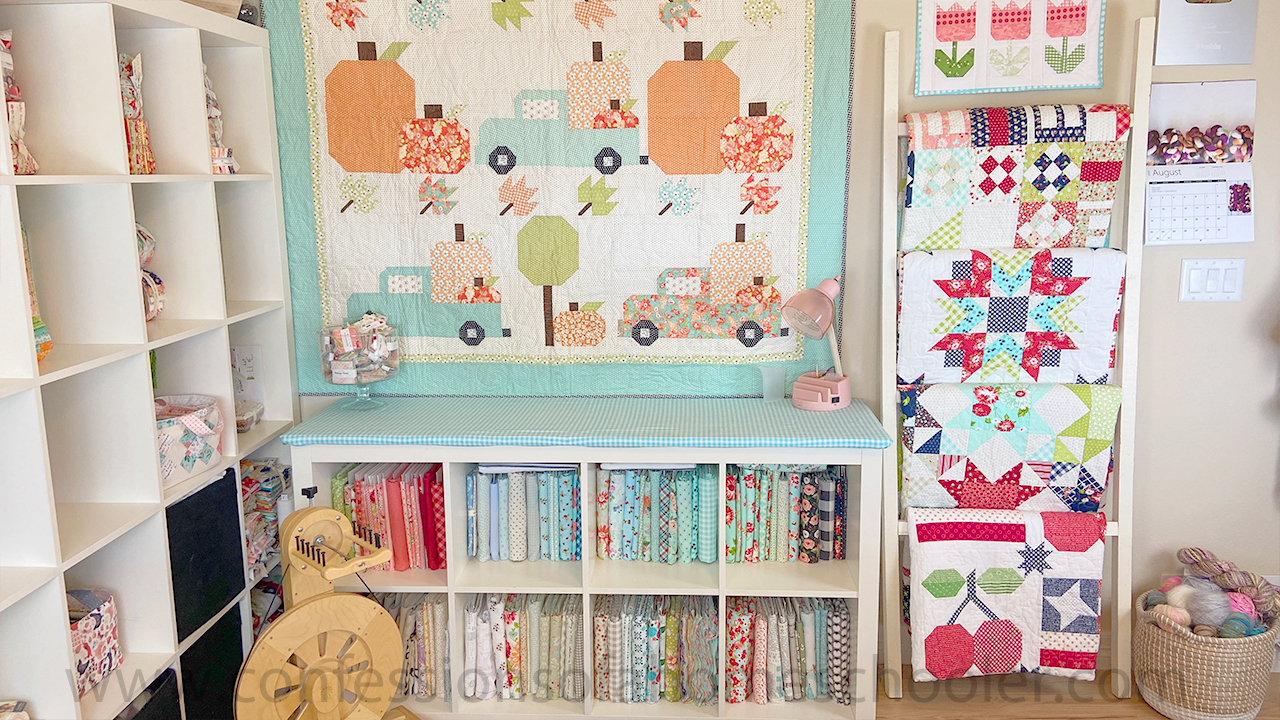
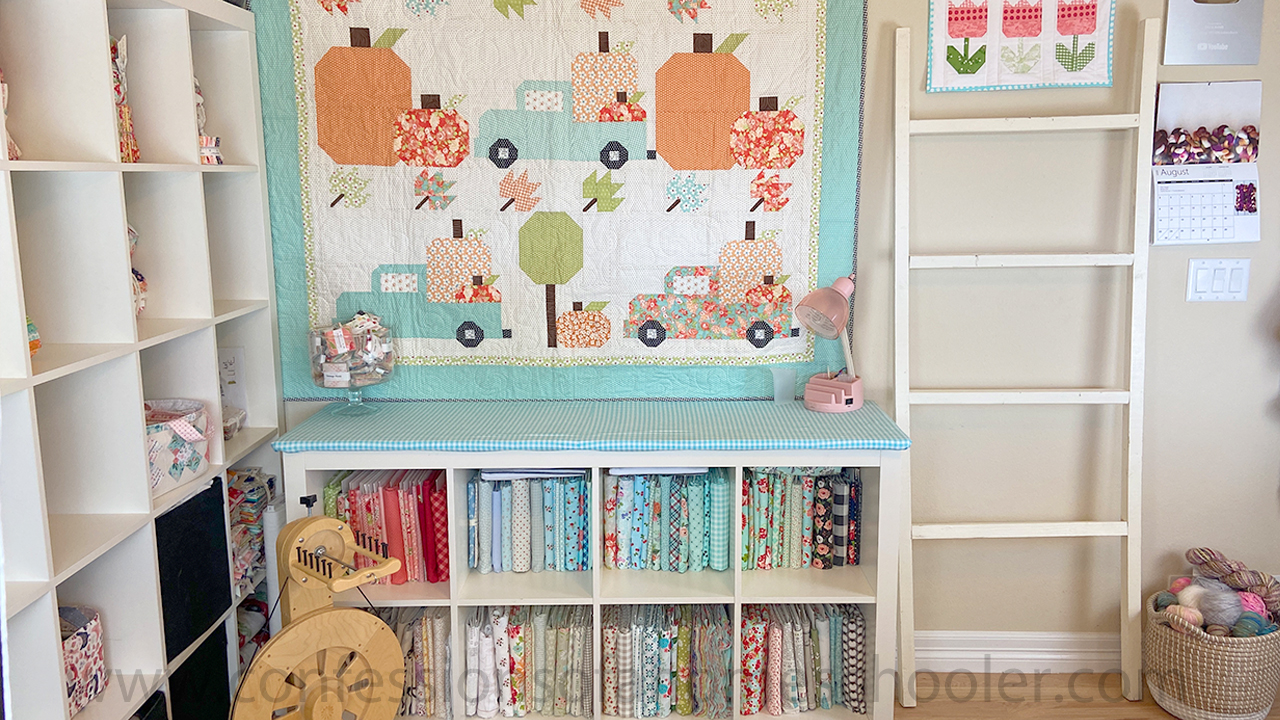
Next let it dry and then hang your favorite quilts on it for display!