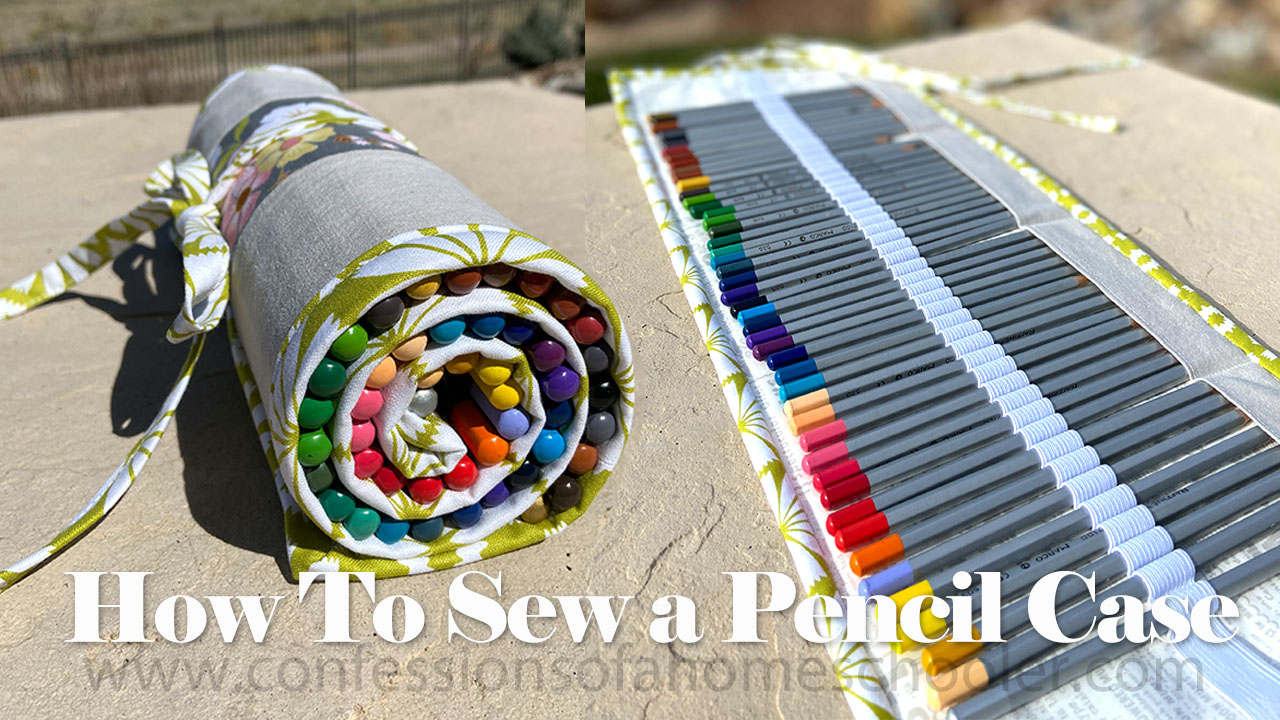
Happy Tutorial Thursday! Today I’m showing you how to sew this super cute and easy Roll Up Pencil Case!
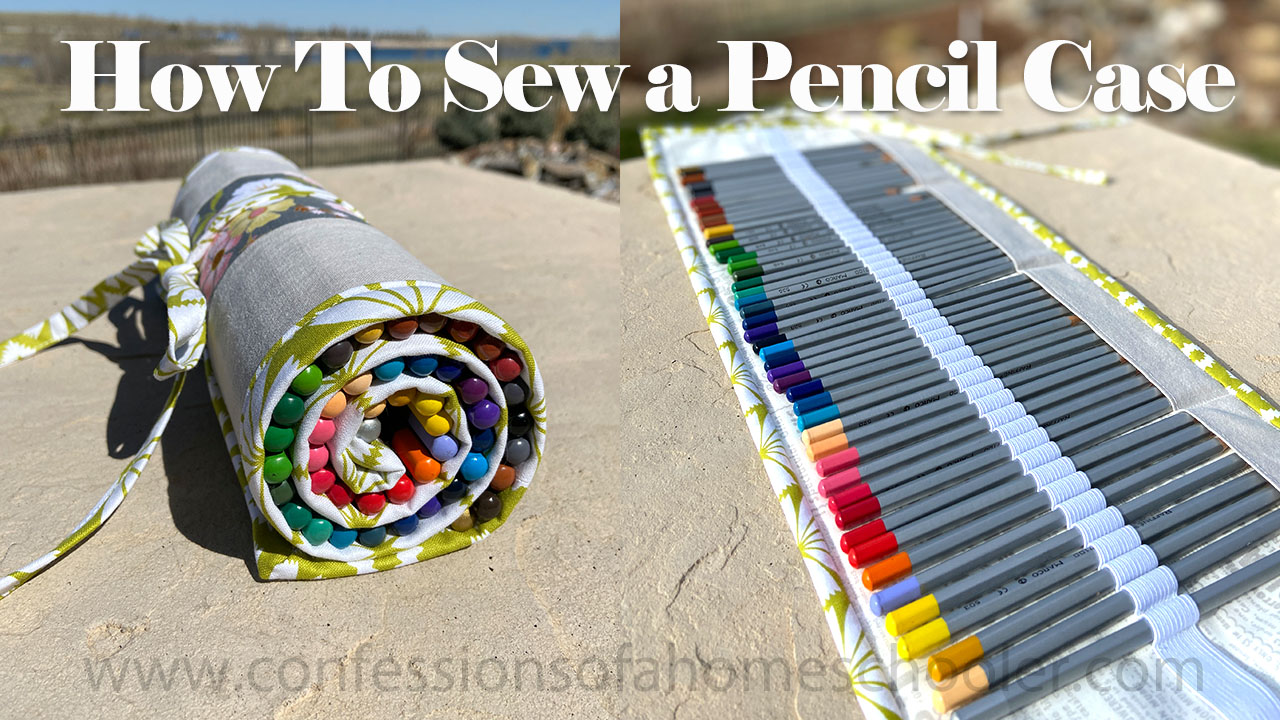
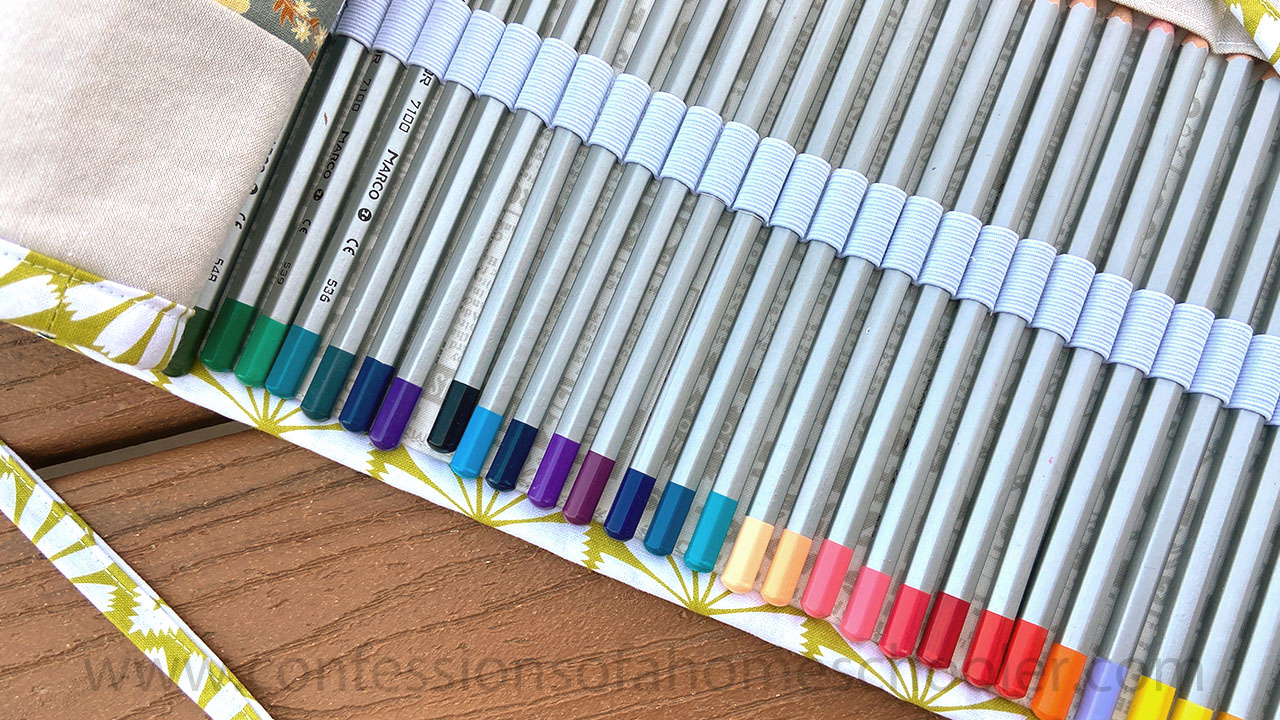
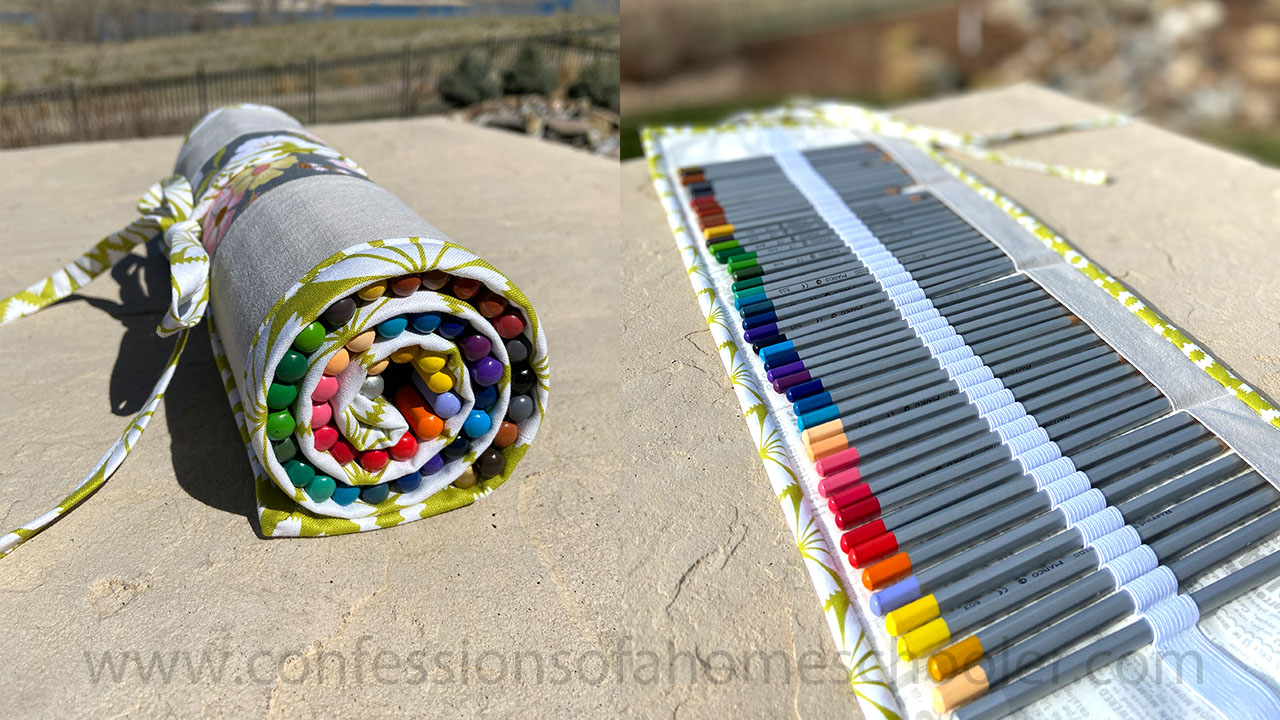
This project is really fun, and you can customize it to fit other tools like knitting needles, crochet hooks, and more! The finished case is approximately 8.5″ x 22″ and this one holds 48 colored pencils.
Video Tutorial:
Watch the Roll Up Pencil Case Tutorial here!
SUPPLIES FOR THIS PROJECT:
- Outside fabric: 8.5″ x 22″ OR (2) 3″ x 22″ and (1) 3.5″ x 22″
- Lining fabric: (1) 8.5″ x 22″ and (1) 3.5″ x 22″ (bottom flap)
- Tie: Cut one strip 1.5″ x 38″
- Binding: Cut two 2.5″ x WOF strips and sew end to end
- 3/4″ or 1″ elastic cut to 52″ long
- (Optional) Cotton Quilt Batting (1 piece 8.5″ x 22″)
- Cotton Thread
- Juki TL2000 Qi
- Olfa Rotary Trimmer
- Oliso Pro Smart Iron
- Creative Grids Ruler
- My favorite Scissors
- Clover Wonder Clips
- Frixion Erasable Pen
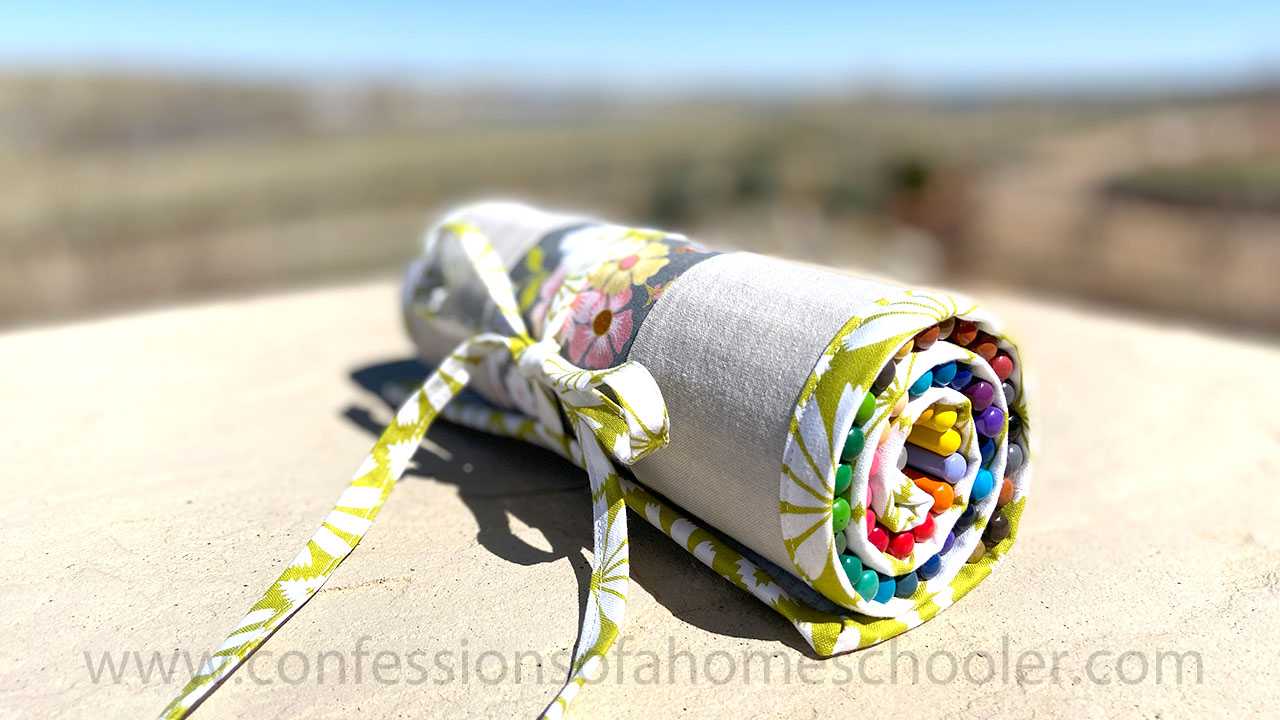
I sewed three pieces together. I sewed three pieces together for my outside fabric, but feel free to have fun with your outside! You can piece together whatever you like, then trim to size, or just use one solid piece of fabric, it’s totally up to you!
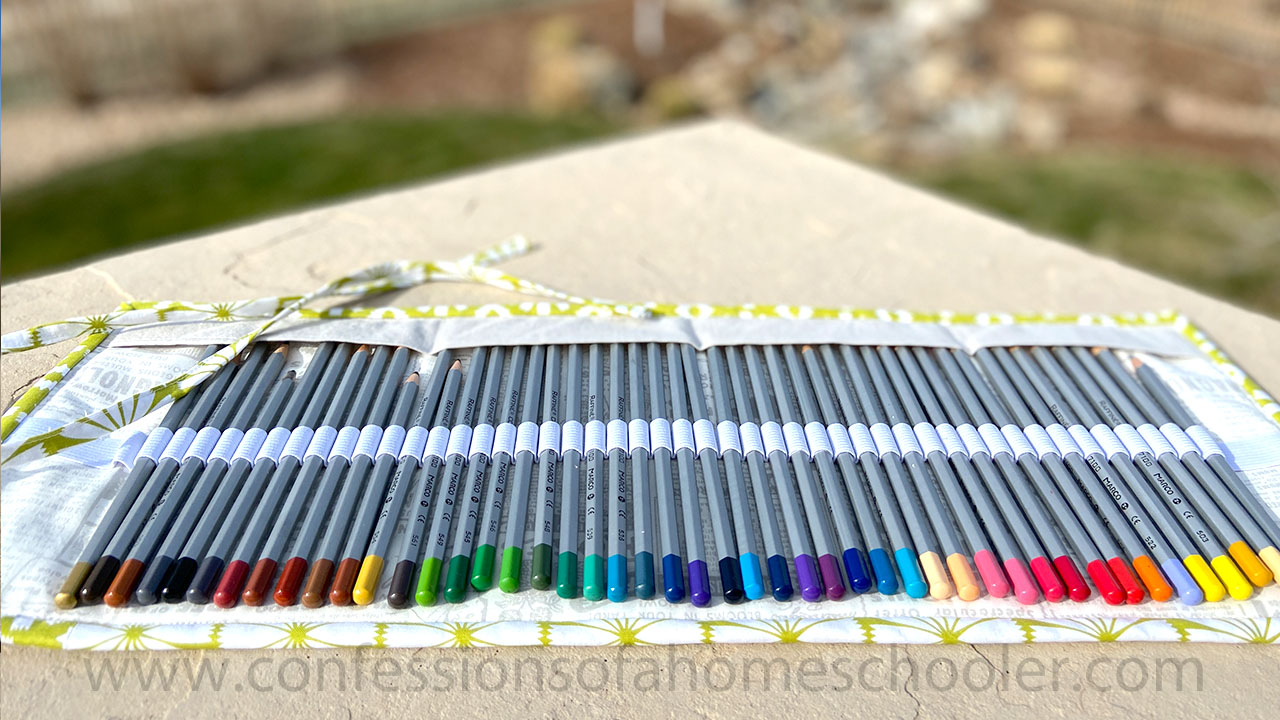
I used 3/4″ elastic for this project and it worked great, but you can also use 1″ elastic as well. In a pinch, you can use a strip of fabric if you don’t have elastic! Just cut a fabric strip 2.5″ wide by about 52″ long. Fold the long edges in 1/4″ on both sides and press. Then fold the whole strip in half and press. Sew along the open edge (the one with the 1/4″ folded edges together) to secure them and then proceed as shown in the video for adding your fabric strip in place of the elastic.
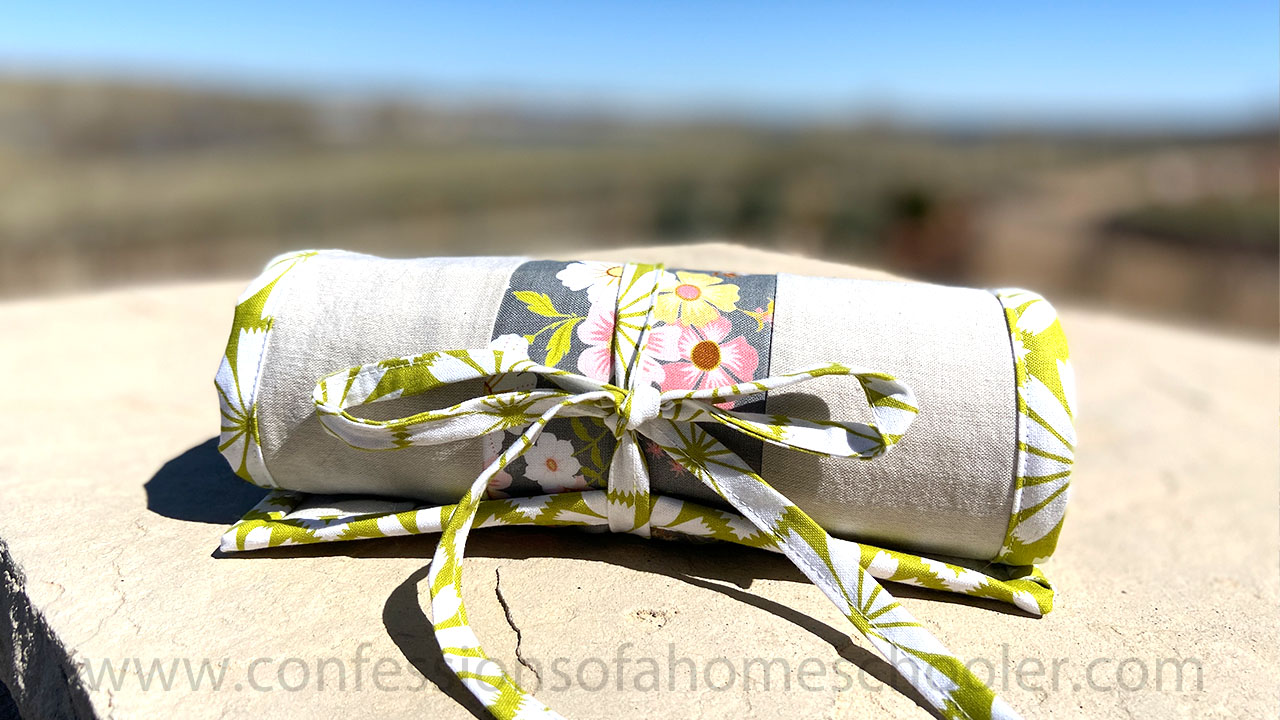
These tool pouches are so handy! I love to use mine for church. I have one of those fun coloring Bible’s and my pencil roll keeps my pencils from clanking around and making noise during service!
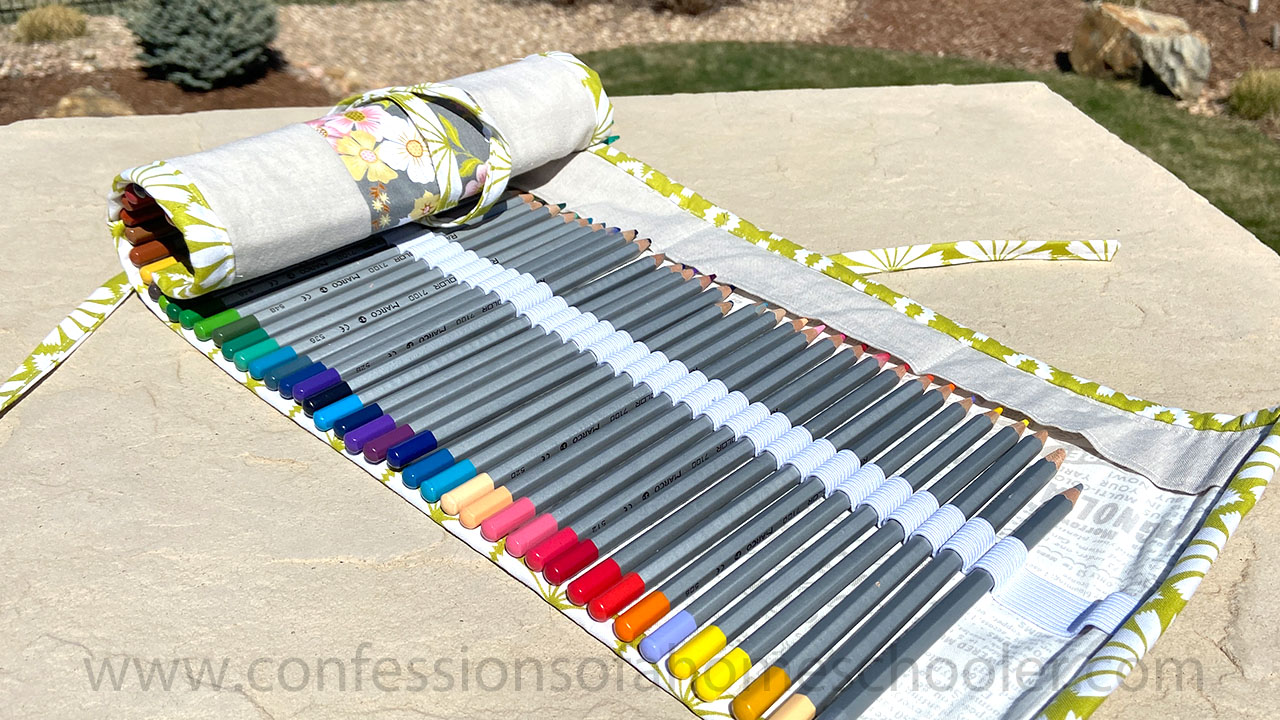
Of course they’re also super portable and great to take with you on a nature walk! Grab a sketch pad and your pencil roll, find a nice shady spot and sketch the beautiful things you see around you!
Roll Up Pencil Case PDF Pattern
I’ve also released a PDF Download pattern for those of you who prefer paper patterns! It comes with step by step instructions and easy to follow graphic illustrations.
Click the image below to get the Roll Up Pencil Case PDF Pattern!
I hope you enjoyed today’s tutorial and are having a great week! See you next week for another fun tutorial coming your way!
If you make this project make sure to tag me @ericaarndt on Instagram or Facebook and use #ericaspencilroll so I can see your projects!
Have a tutorial idea? Make sure to leave a comment below!

In this tutorial, you have everything listed of what you used, and maybe I missed it… but what brand are your heat removable pens? I think those are great!
Hi! Sorry, I forgot to link the pens! I use these: https://amzn.to/2wEorNW
Thank you so very much for this tutorial! I haven’t sewed in a number of years, but I really wanted a roll up tool holder for my mandala tools that I used to make painted rocks. Your tutorial was perfect, I followed it as I sewed, and could rewind as needed.
I love this tutorial, thank you! Do the spaces between each item (pen, pencil etc) need to be the same size as the item itself? Or can they be smaller? I’m planning on making this for fairly manga markers.