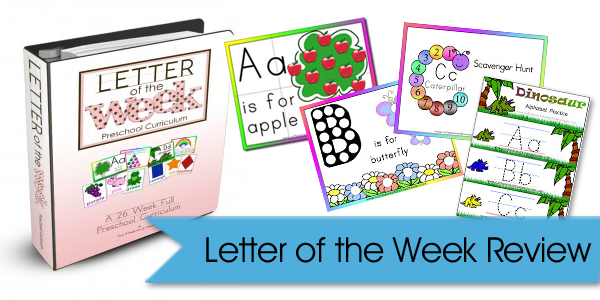
Hi everyone! I hope you’re having a fun summer break…if you take one that is. We are, and we’re looking at starting back up in August, so I’m trying to get everything prepared and ready to go! Today I thought it would be fun to do a video review of my Letter of the Week curriculum for those of you who are interested in seeing what it looks like.
Click here to watch the Letter of the Week video review!
The Letter of the Week is a full 26 week preschool course designed to give your student a head-start on preparing for kindergarten! It has 5 days per week of lesson plans full of educational activities that focus on the letter recognition, sounds, number recognition, counting, basic math skills, pre-writing practice, and all the necessary fine-motor skills that will be required for your preschooler to be ready for kindergarten! Included are weekly lesson plans that cover all the subjects a preschooler needs and more!
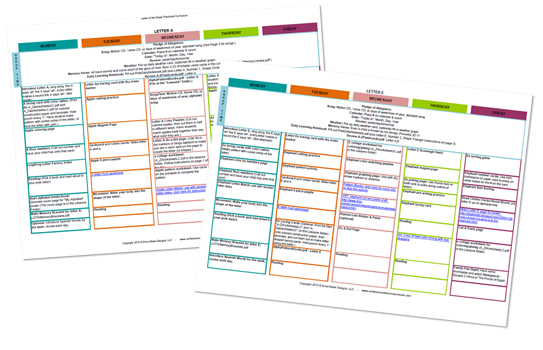
There are over 1500 printable pages of games, ideas, and activities included in this curriculum! You can click the image below to see a SAMPLE of the daily lesson plans.
As promised here are some of the products mentioned in the video to help you get started! Again, these are optional supplies for my Letter of the Week curriculum. You really just need the basics, construction paper, glue, pencils, and scissors.
- Song time: Hide ‘Em in Your Heart Vol 1
- Leapfrog Letter Factory DVD
- Chicka Chicka Boom Boom
- Expo Dry Erase Markers
- Pencils, Pip-Squeaks Markers, colored pencils, etc.
- Scissors (kid safe)
- Magnets (I use Power Magnets, or pom-pom magnets)
- Wooden Clothes pins (I got mini-clothes pins from my local craft store)
- 1 ½ “ wooden disks from Michaels, hobby lobby, or JoAnn’s for the letter match games. (Note: you can also use left over milk caps) It’s also helpful to have a Xyron Sticker Maker so you don’t have to glue or Mod Podge all the letters on, but that’s totally optional! Click here to see how to make them.)
- Hole Punch (For the Lacing Cards)
- A magnetic board of some kind: I found a colored cookie sheet at a used HS fair, but they have cute magnetic dry-erase boards that are small enough for workboxes in the school/office supply section at Wal-mart and Target.
- Counters: You can use marbles, beads, bingo markers, beans, cheerios, glass pebbles from the craft store, matchbox cars, dinosaurs, really anything you think your child will like. I have a few different ones just so I can switch them out.
- Yarn or string for lacing
- Laminator: You can either laminate at home, at a local teacher or office supply store, or not at all, it’s up to you. If you do choose to purchase a laminator, which most homeschoolers find quite useful, I recommend this one, you can find it at Wal-mart and Sam’s Clubs. It’s about $30 for the laminator and $14 for refill packets. ScotchThermal Laminator, 9×11 Scotch Thermal Pouches
- Glue (I usually go for glue sticks since they’re less messy!)
- Paint & Large Sheets of Paper for painting
- Colored Construction Paper
- Large Thumb Tacks or Tooth Picks
- Pattern Block Activity Pack
- CREATIVE COLOR CUBES
- Magnetic Alphabet Letters Upper/Lowercase
I’ll have a video for my K4 posting shortly, so stay tuned for that as well!
I hope that video helped you out, and happy homeschooling!


Just wanted to say, I used this program for my grandson. It was great!! I really believe it provided everything we needed. We followed up with the Pre-K program. We will be using it starting this fall for his sister. Thanks for all your hard work.