Ready for a fun kids craft? I don’t know about your kids, but mine love anything involving aluminum foil.
We’ve used it to make boats, balls, leaf impressions, moons, magic wands…you get the idea.
We like foil.
Plus it’s recyclable, a nice bonus.
So today we’re going to make some fun aluminum foil fish!
This is a great project even for younger kiddos, and it goes well with my Letter of the Week Letter F activities too!
Note: We’re making fish, but you could really do this with any theme you prefer.
Let’s get started!
Supplies:
- Colorful construction paper
- Sharpie markers
- A pencil
- Tin foil
- Glue stick
- Scissors
- Optional: some type of plastic netting for texture
We started off by creating our background. So we used a light blue paper for the sky, then cut a wave shape out of darker blue and pasted it to the front.
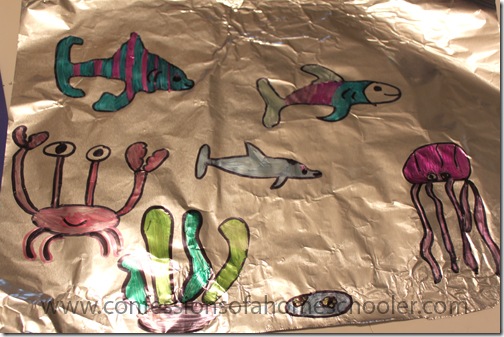
Next draw your designs on a sheet of aluminum foil using a pencil, then trace over it with a black sharpie.
Next color in your design using colorful sharpie markers. I’ve found sharpies work best for this as they’re permanent and will adhere to the foil. They also come in beautiful and bright colors now!
Like so…
Next get your plastic mesh or whatever texture you like and carefully rub the foil on top of the mesh to create a fish scale texture on the foil.
Once you’re done coloring and imprinting your texture, carefully cut out your images using scissors.
Be VERY CAREFUL not to tear the foil during this process! However if you do tear it, you can use some scotch tape to tape the backside of the foil so no one will know ;o)
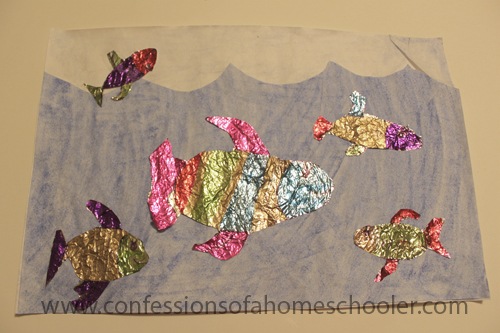
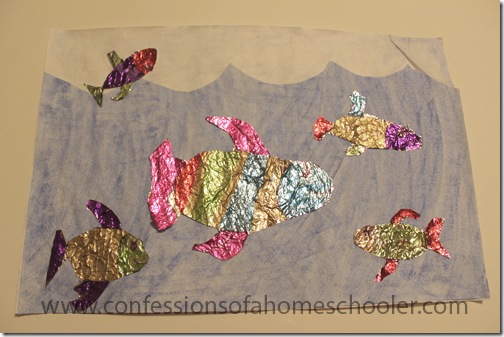
Finally glue your designs on to your background and add any other details you’d like to your art work!
Here is another one we made as well. This one was done using crayon to color ocean waves in our background.
And that’s it! A really fun and easy foil fish craft!
I hope you enjoy it, if you happen to try this out, send me a pic or leave a comment below I would love to see your creations!


