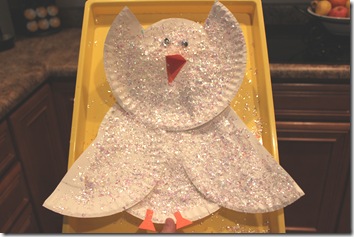
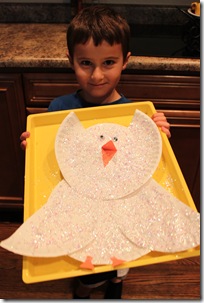
Welcome to another fun Arctic Kids Craft! Today we learned about the Snowy Owl, then watched Owl Babies on You Tube. After that we made a fun Snowy Owl Craft.
What supplies do you need?
- 3 paper plates per student
- white craft glue
- paint brush
- orange construction paper for beak and feet
- 2 google eyes per student
- Fake snow
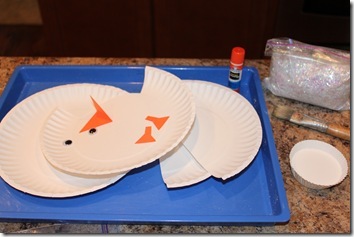
Step 1: Cut one paper plate in half, cut a rectangle shape from the top of 1 plate for head, and keep one plate whole for body.
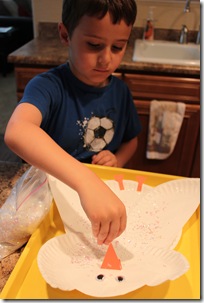
Step 2: Using whole plate as body, glue plate halves on either side for wings, and rectangle cut plate on top for head {see image above}.
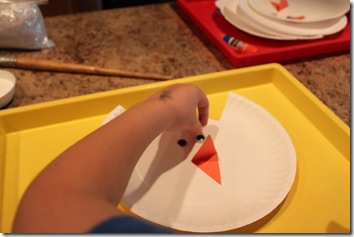
Step 3: Attach eyes, beak, and feet using glue.
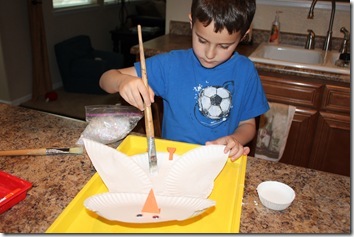
Step 4: Paint glue all over body.
Step 5: Sprinkle with fake snow and voila! Tip: Once dry, shake off excess snow so it doesn’t decorate your lovely clean kitchen floor…and the hallway…and the bathroom…and anywhere else the owl may venture.
Click here to see the rest of our Arctic Activities!
Click here to learn more about my Expedition Earth World Geography curriculum!



Cute project! Looks like fun! I noticed that your blue and yellow pans under the project must have helped contain everything nicely – could you tell me about those? Are they just pans from your kitchen or are these your "crafting pans"? Either way, what a great idea to help with this fun project!Thanks, Andrea
What a beautiful owl!
Cute! My bird-obsessed son will be so very excited to make these! http://preschoolbookclub.blogspot.com
I got the trays at Lakeshore Learning: http://www.lakeshorelearning.com/seo/ca|searchResults~~p|BX532~~.jspWe use them ALL THE TIME!
Love your owl craft! We are very fond of glitter in our (all over the house –ya just cant help it!)