I recently found a wonderful tutorial for using Easter egg dye to create hand dyed yarn and just had to try it! Now, I’m not exactly a rule follower, and the tutorial mentioned prior was too much work for me, so I surfed around and found this tutorial which was much less work. I adjusted it a tad and it still worked, so I’m calling it a success!
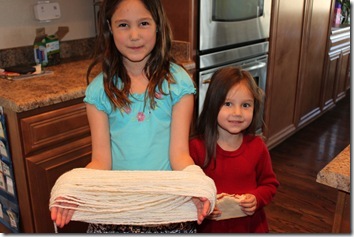
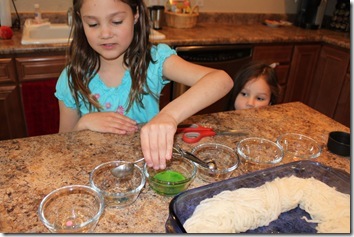
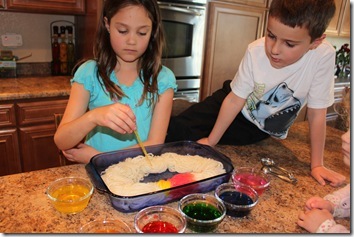
This is a great project for kids, and it was easy enough that they did most of it on their own, with just a little instruction from me such as measuring and help with the microwave.
Supplies:
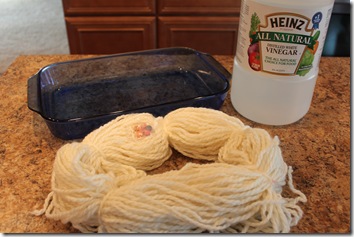
- Easter Egg Dye Tablets (I grabbed some after Easter for half off!)
- Distilled White Vinegar
- Plastic Wrap
- Glass Dish (or other microwaveable container, I used a 9×13 pyrex)
- 6 small dishes for dye tablets
- Microwave
- White/Cream Yarn (IMPORTANT: This must be yarn from an animal such as wool, alpaca or silk. If you try to use acrylic or poly-fiber yarns, the dye will not take! Please trust me on this one…)
Step 1: Wind yarn into large oval shape, small enough to fit in your dish. Using some of the thread, tie your oval shape every 5” or so to prevent knotting!
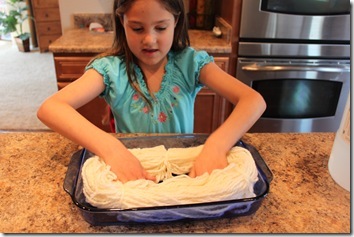
Step 2: Place your tied yarn into your glass dish. Mix 1/4 cup distilled white vinegar with 1/2 cup water and pour it over the top of the yarn. Press the yarn into the vinegar solution until all the yarn is wet. If there’s not enough liquid add some more water, it’s not an exact science here, you just want to make sure its wet every where.
Step 3: Mix the Easter egg dye as directed. Once the tablets are dissolved, you can add about another 1/4 to 1/2 cup of water to it so you have enough to dye your yarn.
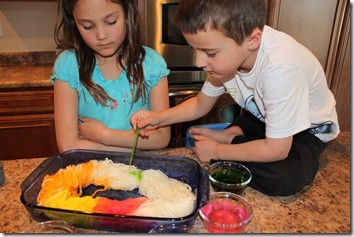
Step 4: Using paint brushes, or eye droppers, carefully add the dye to your yarn. Keep notice of how much liquid is pooling underneath your yarn and soak it up with a sponge or paper towel. If too much water is allowed to pool the colors will muddy the underside of your yarn.
Add just enough color to dye the yarn, more liquid will not make the color brighter!
Make sure to get in between strands, then turn the yarn over and get the underside as well.
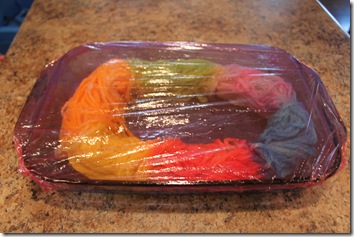
Step 5: Once you are satisfied with your results, cover the dish with plastic wrap. Microwave on high for 3 minutes, then let stand for 5 minutes. You will repeat this process until the water remaining in your dish is completely clear indicating the yarn has absorbed the dye. I had to repeat the process only twice, but it may depend on the power of your microwave.
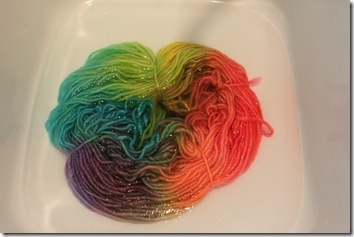
Step 5: Let yarn cool then rinse it in cold water for about 10 minutes to get rid of all the vinegar. (Here is where I found out that the man-made fibers do not absorb the dye, and when I rinsed it, everything washed out and I was left with white yarn! Eek!)
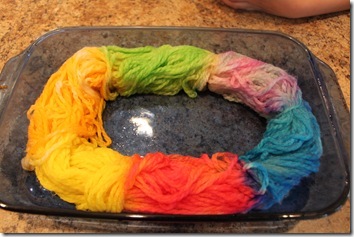
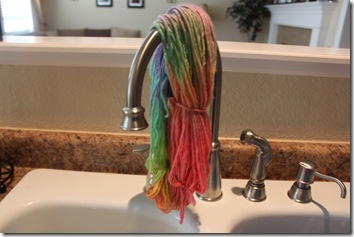
Step 6: Hang your yarn somewhere safe to dry. It takes about a day to fully dry.
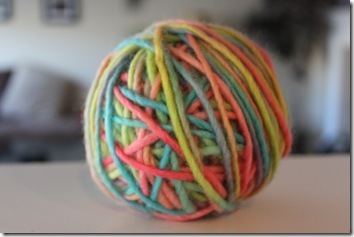
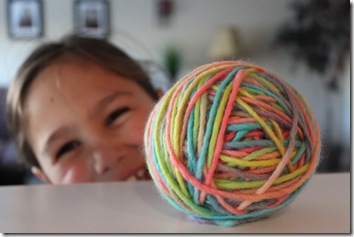
Step 7: Wind up your beautiful yarn, then make plans to do something great with it! My daughter has plans to use it on our loom, maybe our American Girl Dolls will get a new hat, or scarf ;o)
I hope you’re inspired to try this one at home, it was super easy and is a great way to use up that left over Easter Egg dye! Plus, its just cool knowing that you dyed your own yarn!


Thanks for sharing. This looks like a lot of fun. Do you have a plan for the yarn? Thanks again for sharing.
Is it safe to bake the yarn in an oven to dry it faster? I know with natural fibers you can't really dry it in the clothes dryer because it will all felt together…I just didn't know if it would catch on fire in an oven. Just like on the lowest setting. I baked my dyed rice in the oven to get it dry faster and it suffered no ill effects.
This is a great idea! I have shared it and am going to try it this year after the dye kits go on sale.
I want to try this next easter but I’m confused. It says to soak the yarn in water/vinegar, so I assume it’ll be in a pool of the stuff, then the next step is to dye it and be mindful of any water that’s pooling in the bottom so it doesn’t get muddied… so I assume you dump out the pool of water/vinegar before doing this, then the next step says to cook it until the water that I just imagined being dumped out has turned clear… ??
Yes, we just used a large rubber maid container and filled it with water/vinegar mix. Then submerged the yarn so it is soaked through. You probably won’t have to dump the water because the yarn soaks it all up, but if there is a ton left, then you can drain it before dropping in the dye with the eyedropper like shown in the post pics.