Hi friends! I have a super fun and easy sewing project for you! Today I’m sharing how to make the Squishy Project Bag. It’s great for storing craft projects, knitting, embroidery, school supplies, and anything else you can dream up!
This bag is so easy and definitely beginner friendly. It should only take about an hour and a half or so to put together. So let’s get going!
Watch my video tutorial on how to make The Squishy Project Bag here!
Materials and Cutting Instructions:
Outside fabric: (Note: You can create a custom outside fabric using scraps as long as you end up with 1 piece of 12.5” x 24.5” when you’re done.)
- (2) 6.5” x 12.5” pieces
- (1) 12.5” x 12.5” piece
Lining: (2) 12.5” x 12.5” pieces
Cotton Batting or fusible fleece: (1) 12.5” x 24.5” piece Note: If you’re quilting the outside of the bag like I am, you might want to give yourself about 1” of extra batting on all four sides.
Strap: (1) 2.5” x 8” piece
Zipper: (1) 14” plastic zipper (If you change the size of your bag from what I’m doing, just make sure your zipper is longer than the bag width and you’ll be all set!)
–>>Download a printable version of the Squishy Project Bag instructions here <<–
Like I mentioned in the video you can make any combination of colors you wish using this same assembly method. I’ve made a few different colors using scraps I had lying around!
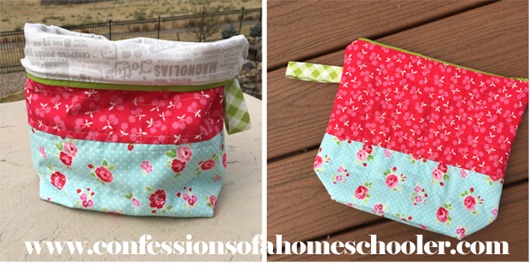
This one uses one of my favorite fabric lines called Pam Kitty Fog City by Lake House Fabric. I love the newspaper print inside the bag, it’s so soft and subtle!
This bag uses the Playground Fabrics line by Ami Sinibaldi, it’s it so pretty! This bag is going to my mom for her knit projects. For this one I used some scrap pieces I had lying around, and just cut them so they’d all measure 6.5” x 12.5” when I was done sewing them together.
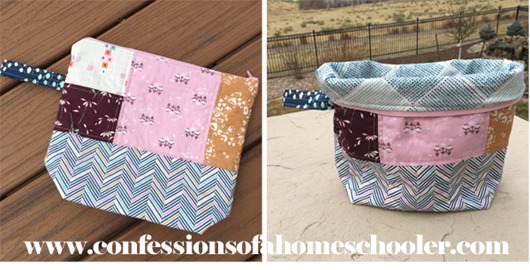
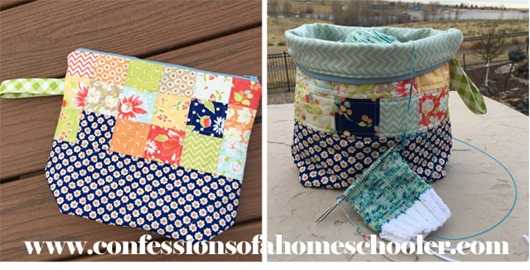
This is one of my favorites, it uses the Coney Island by Fig Tree fabric line. I did a simple patchwork using a 2.5”x2.5” mini-charm pack to create the top portion of the bag. I love how it turned out. As you can see, you can really create anything you want this way!
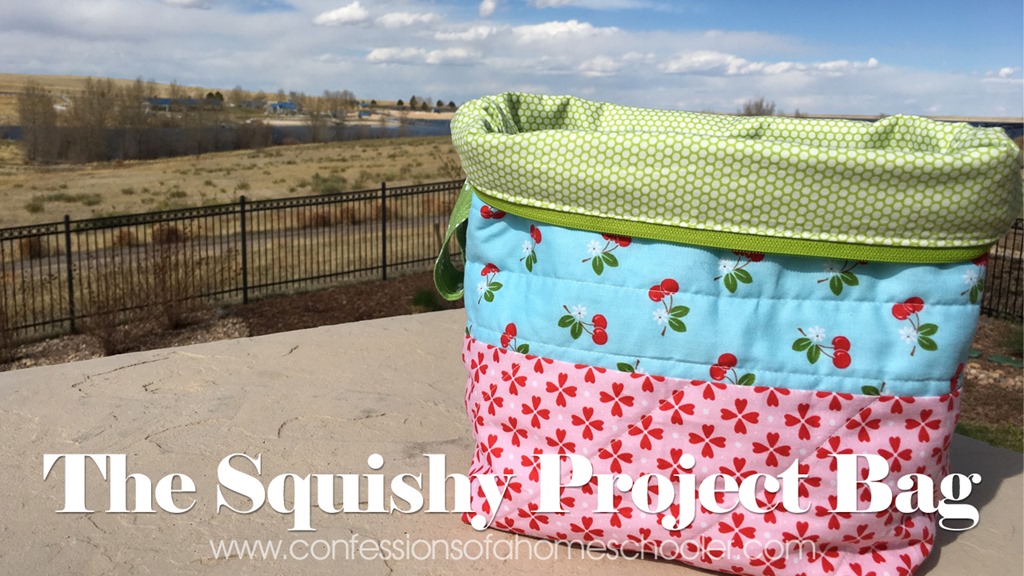
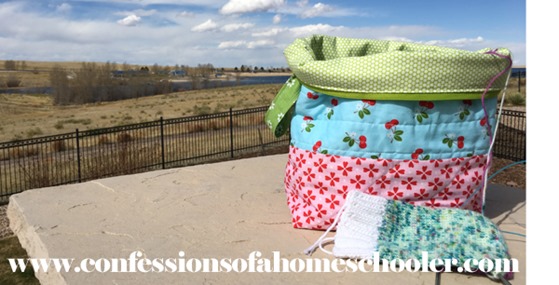
The bag created in the video used the Sew Cherry 2 fabric line by Lori Holt for the outer bag. The lining is from the Little Ruby line by Bonnie and Camille.
I hope you enjoyed this tutorial! If you make a bag using my tutorial, please tag me so I can see your creations! Use #squishyprojectbag or tag me @ericaarndt on Instagram!
Here are a few more of my Sewing Tutorials online:
- Pink Pig Rag Quilt
- DIY Tic-Tac-Toe Board Game (*Great for learning beginning skills!)
- Patchwork Book Cover
- Quilt-as-you-go Book Cover
- Kids Pillow with Pocket
- How to Applique’ Basics (Don’t worry it’s super easy!)
- Thread Catcher Tutorial
To keep up with our shenanigans, feel free to follow me:
- YouTube Channel
- Instagram (LOTS of quilty goodness there!)


Love the “squishy” part, flexible yet not rock-hard. It will conform to what ever project room is needed. I had made a Draw-string bag cover for a plastic flower pot to hold my projects, but it does not pack and travel well. I will do one for my projects and another for traveling first aid/meds kit. Thanks
I saw the YouTube tutorial Friday. Made the bag Saturday morning. The tutorial is great. I’m very happy with my squishy bag. I think these will be great gifts for giving. With a little something special tucked inside the bag. I can use some of my “stash’. Excited!
I have another begun with patriotic theme material.
Thank you so much for the tutorial Erica I made one today very handy n useful …you are amazing!!!
You’re welcome, I’m so glad it was helpful! 🙂
I made my first squishy bag I love it. I added a pocket inside for tape measure or extra needles or things that get caught up in the yarn. I will be making more
Thank you
Great idea, I put a pocket in one of my bags too 🙂
I’d love to know how to add a pocket!
Hi Jenny,
It’s super easy! Just take two pieces the same size that you want for the pocket. Then stitch them together around the edges with fabric right sides together leaving a 1.5″ opening on one side. Flip it right side out when done and then press. Next add your pocket to the right side of the lining fabric centering it horizontally and towards the top a little so it’s not too far down. Sew around the right, bottom, and left sides making sure to catch the opening you used to turn your pocket in the seam when you attach the pocket to the lining 🙂
Found the video on YouTube and love it. It seems simple and just what I was looking for to make for my daughter for school. I homeschool our son, so I love your homeschool info too. Love to find a fellow homeschooling quilter mom 🙂
Erica,
Bless you for homeschooling.
The squishy bag tutorial I think is the tutorial I have been looking for to make a bag for my husband’s med bottles. The one he has is too small. Think I have to go wider though, maybe 3-4″. Also like you added instructions for pockets on one of the comments. I also was wondering about pockets.
I am looking for a pattern for a zippered Bible cover with handles. There has got to be one out there somewhere. Thank you for your tutorials!
Hi Erica,
I am enjoying your projects. I am wanting know what is the name and brand of sewing machine you used for the Squishy Project Bag. I am wanting to maybe purchase one for myself. Thank you
I have a Juki TL 2000 Qi, you can see all of my sewing products here: https://www.amazon.com/shop/ericaarndt?listId=2YN6JQ20VGH85&ref=idea_share_inf
Hi Erica,
Love your bag and very much enjoy your tutorials. Just would like to know what are the measurements on the finished product? If I like to make the same bag smaller or larger is there special instructions for that or rule?
Thanks again for your wonderful projects you share with us.
It’s about 12″ x 12″ or so. If you’d like to make a smaller/larger one, just make sure your outside is the same size as your lining and you should be okay.
When sewing a tube, right sides together, place a ribbon lengthwise…attached at one end. After you sew the tube, just pull on the ribbon, and tube will turn right side out. Works fairly well. I’m mostly like you though…wrong sides together. Lol
Oh that’s a great idea! Thanks for sharing 🙂