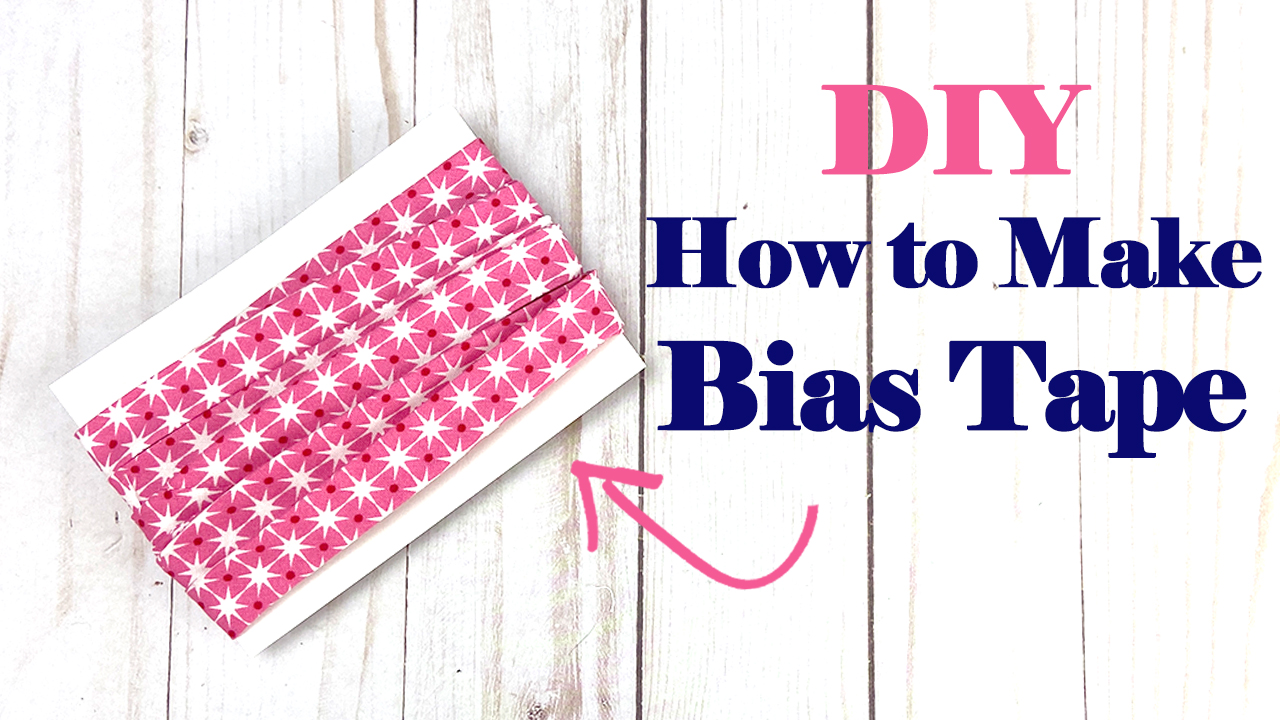
Hi friends! Today I’m showing you how to make your very own bias tape! You can purchase pre-made bias tape in the store, but honestly making your own is super easy, and you can choose your own fabric which makes all of your sewing projects super cute!

Watch Erica’s How to Make Bias Tape video tutorial here!
Making bias tape is so easy, here’s what you’ll need:
- 1 FQ Fabric (I’m using 100% Cotton fabric) = about 4 yards of finished bias tape
- A rotary cutter
- Acrylic ruler
- Iron and ironing board
- Optional speedy version: Bias Tape Maker (They come in a variety of sizes too!)
And that’s it! I typically use double-fold bias tape for necklines, curved edges that need binding, and other garment sewing projects. Single fold bias tape can be used to hide raw edges in dressmaking, and wherever a raw edge comes together that might otherwise be difficult to bind using double fold.
And now that you can make your own, you can customize your sewing projects and make them extra special!
I hope you enjoyed today’s tutorial, and happy sewing! 🙂
