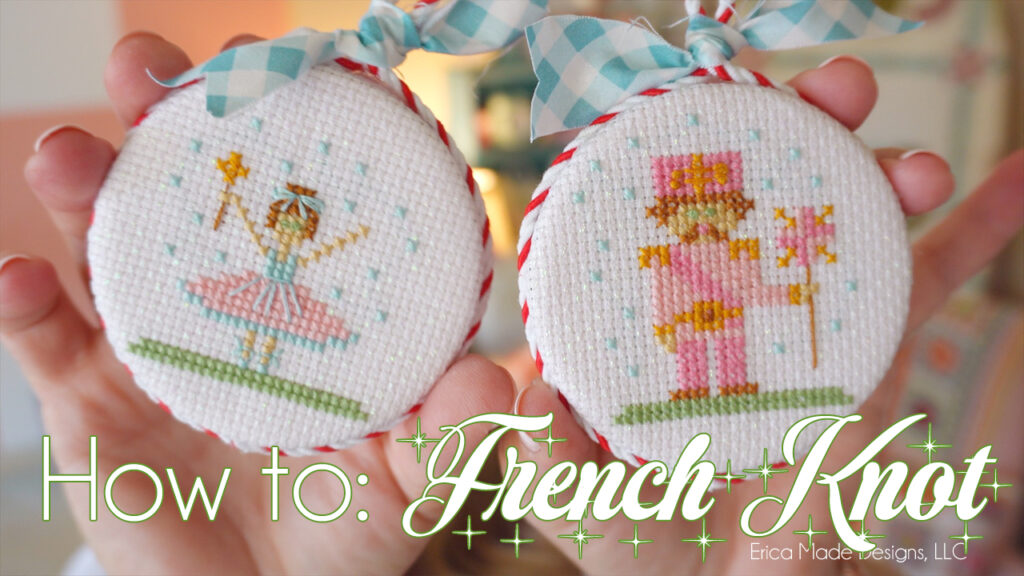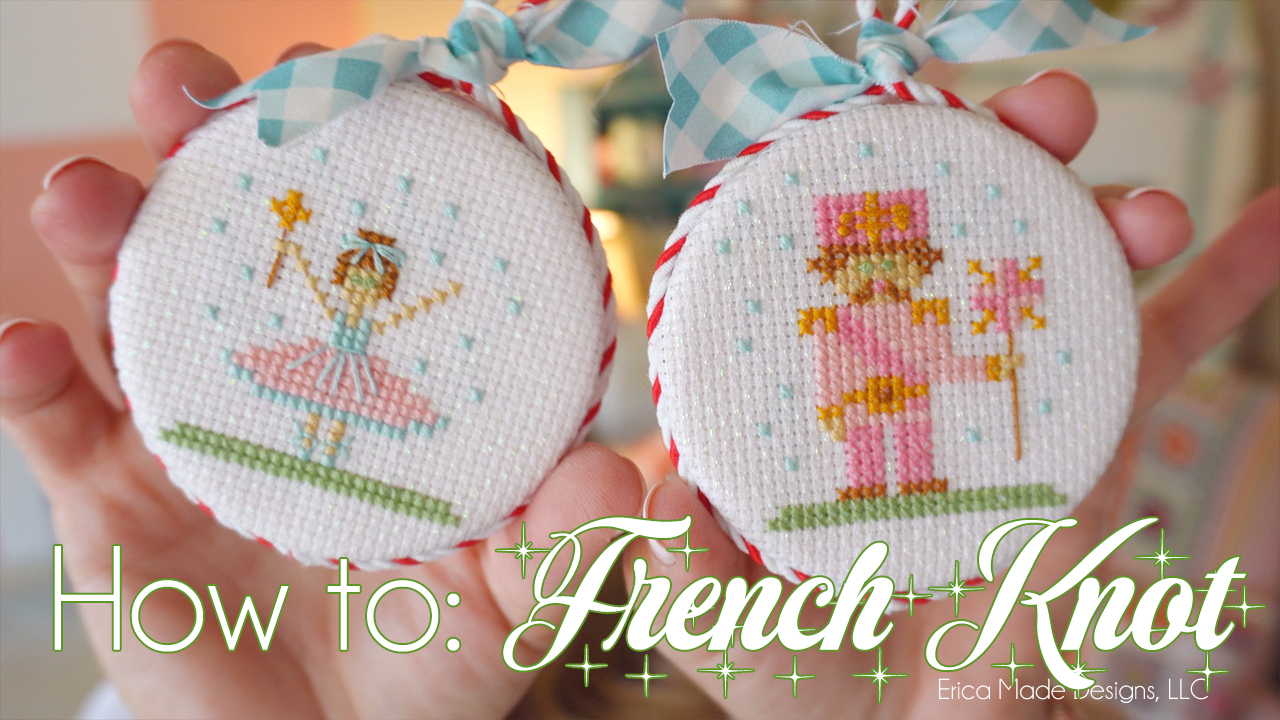
If you’ve ever admired intricate designs in cross stitch, you’ve likely encountered the delightful texture of French knots. These little embellishments add dimension and flair to your projects, making them pop with personality. Whether you’re adding flowers, eyes, or decorative accents, mastering the French knot is a game changer. In this post, we’ll break down how to sew a French knot in cross stitch, so you can elevate your needlework skills!
Watch my How to Make a French Knot Video Tutorial on YouTube!
What You’ll Need
- Fabric: Aida cloth or any cross-stitch fabric
- Embroidery floss: Choose your desired color
- Needle: A sharp embroidery needle
- Scissors: For trimming
- Embroidery hoop (optional): To keep your fabric taut
Step-by-Step Instructions
Step 1: Prepare Your Floss
- Select Your Thread: Use two or three strands of embroidery floss, depending on your fabric and desired knot size.
- Cut Your Floss: Cut a piece of floss about 18 inches long. This length allows for ease of manipulation without tangling.
Step 2: Thread Your Needle
- Thread the Needle: Pass one end of the floss through the needle’s eye. Make a knot at the opposite end of the thread to secure it in place.
Step 3: Forming the French Knot
- Insert the Needle: Push the needle from the back of the fabric to the front at the desired location for your knot.
- Wrap the Thread: With the needle now at the front, wrap the thread around the needle 3-4 times. The more wraps you make, the larger the knot will be.
- Hold Taut: Hold the wrapped thread against the fabric with one hand to keep it tight.
Step 4: Insert the Needle Back
- Return the Needle: Insert the needle back into the fabric very close to where the thread came up. This will anchor the knot.
- Pull Through: Gently pull the needle all the way through, keeping tension on the wraps. This step is crucial to ensure the knot forms properly.
- Complete the Knot: Once you’re satisfied with the size and placement, pull the thread fully through, making sure the knot sits snugly against the fabric.
Step 5: Finish Up
- Secure the Thread: Flip the fabric over and bury your thread under existing stitches or tie a small knot to secure your thread before cutting off any excess.
- Repeat: Continue adding more French knots as needed for your design.
Tips for Success
- Practice Makes Perfect: If your first few knots don’t turn out how you’d like, don’t worry! It takes practice to get the tension and size just right.
- Experiment with Size: Try varying the number of wraps around the needle to create different knot sizes for added interest in your design.
Now that you know how to sew a French knot in cross stitch, you can add this charming detail to your projects anytime you like! These knots can transform simple patterns into intricate designs, making your work truly unique. So grab your needle and floss, and let your creativity flow!
If you’re interested in learning more, check out my How to Cross Stitch for Beginners series! And make sure to grab my 2024 Nutcracker Stitchy Ornaments to test out your new skills!


