A wonderful friend of mind did such a fun winter snowflake activity with Turbo, that I just had to share! They’re so easy and while they make really cute Christmas decorations, you could easily do this anytime you’re looking for a fun wintery craft activity!
The ingredients are simple:
- Borax (2 Tbsp per jar)
- Pipe Cleaners (3 per snowflake, we used green, but I think white might have been a better choice!)
- A pen or pencil to secure the snowflake while it’s crystalizing
- Boiling Water
- Wide mouth glass jars
- Scissors
Directions:
Step 1: Cut your pipe cleaner into 3rds. Lay one section horizontally on your workspace, then lay another one on top of it and twist it into a v shape around the horizontal piece. Lay your 3rd pipe cleaner section on top of that and create a v shape again only going the opposite direction of your first one so you have something similar to the below:
Step 2: Using your 2nd pipe cleaner tie it around the center of your flake, leaving a long tail, you will use this to secure your flake in the crystallization solution.
Step 3: Using the 3rd pipe cleaner, cut six 1.5 inch sections. Tie one around each tip to create your flake detailed edges.
Step 4: Pour 2.5 Tablespoons of Borax per each cup of boiling water to each wide mouth jar. (I used about 2 cups of water per jar, so about 5 T of Borax.) Just make sure you have enough water to cover your snowflakes. Stir the solution until the borax is dissolved.
Step 5: Tie the end of your long pipe cleaner around a pen or pencil and gently place the snowflake end into the solution, making sure it is completely covered by liquid. Wait about an hour sometimes a little longer to see your crystals form on the pipe cleaners! (If crystals are not starting to form, you can add a little more Borax to your solution, just stir to make sure it dissolves.
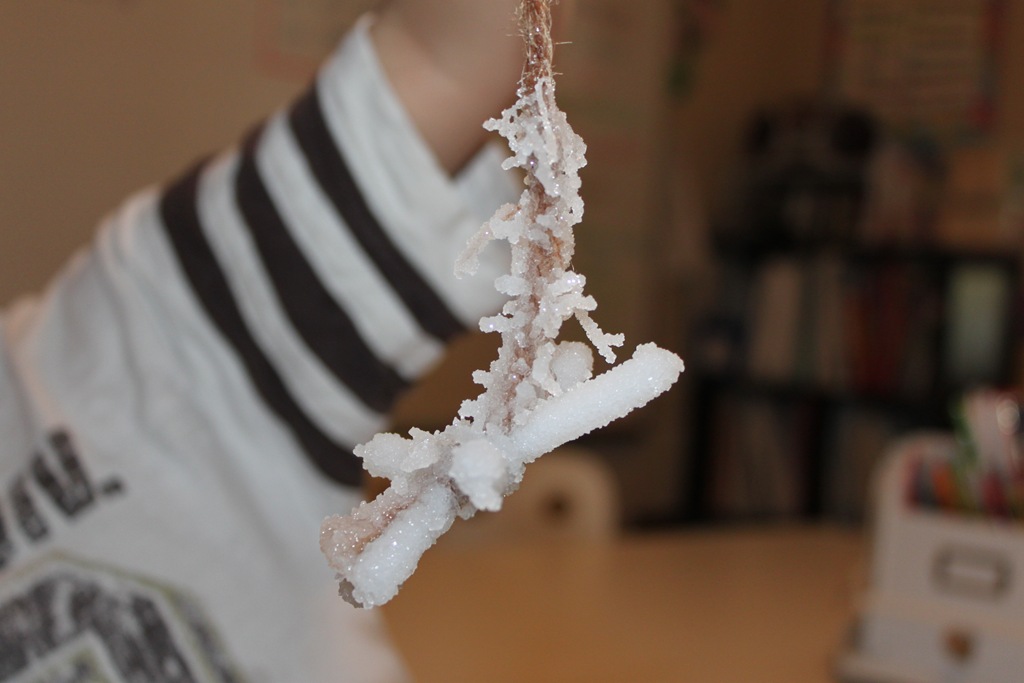
This flake was created using some twine and a white pipe cleaner:


Merry Christmas Erica,
After you let the pipe cleaner soak in the solution for an hour or so, how long do you let it sit out to dry before you can decorate with it? Sounds like such a fun craft. I might have to do it with my children later on. Thank you so much for all of your wonderful ideas and encouraging words on your blog. They mean a lot.
Blessings,
Molly
Hi Molly, I just let it sit out on a paper towel for about 10 minutes, they dry fast!
What a wonderful craftivitiy!!!! Your kids seemed to have had a blast!
Happy Holidays!
❤ Mor Zrihen ❤
A Teacher’s Treasure
This looks like fun! We will have to try this after the new year!
We will be trying this today!
I love your posts! Thank you so much! One question though — is there some way to print out just the instructions without the pictures? It would use so much ink for all the pictures.
Merry Christmas & a Happy New Year! 🙂
That looks like a lot of fun! I’ll have to do it with my kids after the holidays. Have a Merry Christmas!
Great idea! I’ve never worked with Borax and wanted to know how fragile these are after they crystallize? How easy is it to break the crystal?