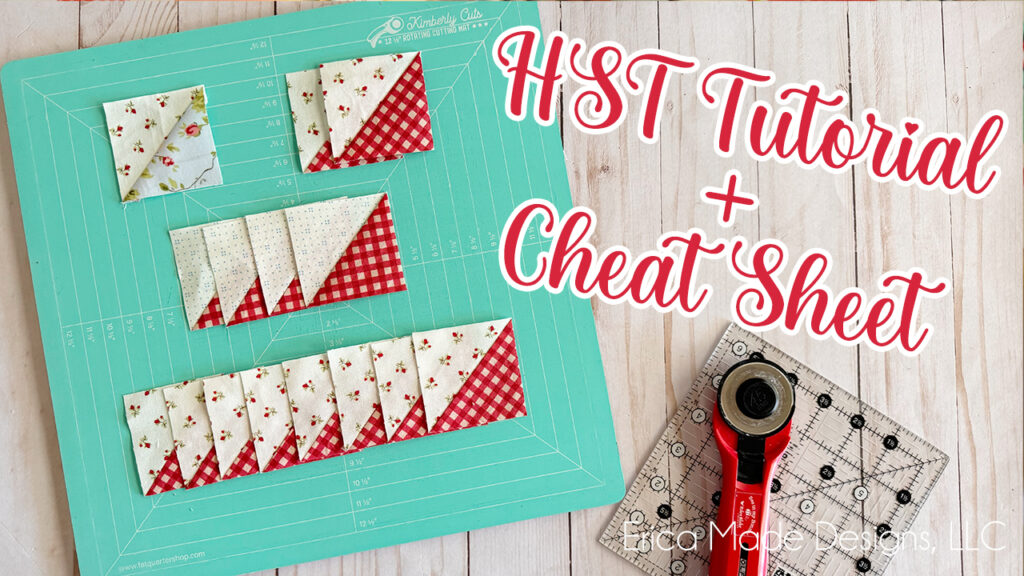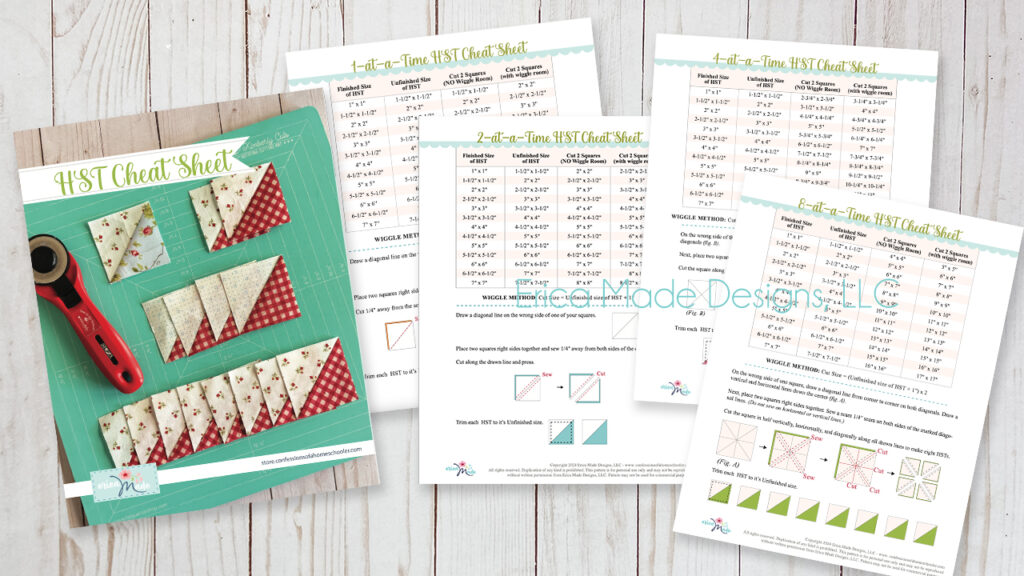
Are you ready to learn how to make half-square-triangles (HSTs) in four easy ways? Today I’m showing you how to make them 1-at-a-time, 2-at-a-time, 4-at-a-time, and 8-at-a-time! I also created a downloadable Cheat Sheet for these four methods, and I will also share the math to help you if you need a size I haven’t included!
Half-Square-Triangles are super cute, easy to make, and offer a ton of versatility when making your quilty projects. You can also use them to make bags, placemats, coasters, table runners, pillows, and of course, you can make entire quilts using half-square-triangles! And they’re a great way to use up your scraps as well.
Today we’re getting back to basics and I’m showing you how to make them using these four easy methods. I’ll also show you a couple of ways to trim them to size so they’re perfect every time!
Here’s what you’ll need for the half-square-triangle tutorial:
- Two squares of equal size and different colored fabrics.
- A marking tool, I’m using a Frixion Erasable Pen
- Quilting Ruler
- Rotary Trimmer & Cutting Mat (I’m using a Fat Quarter Shop Rotating Mat)
- Iron (I’m using my LauraStar Titan – Use Code ERICA23 for 10% off!)
- Optional: 1/4″ Diagonal Seam Tape (This is one of my favorite notions!)
- Sewing machine
Watch the Half-Square-Triangle Four-Ways Tutorial here!
Download the Half-Square-Triangle Cheat Sheet here!


