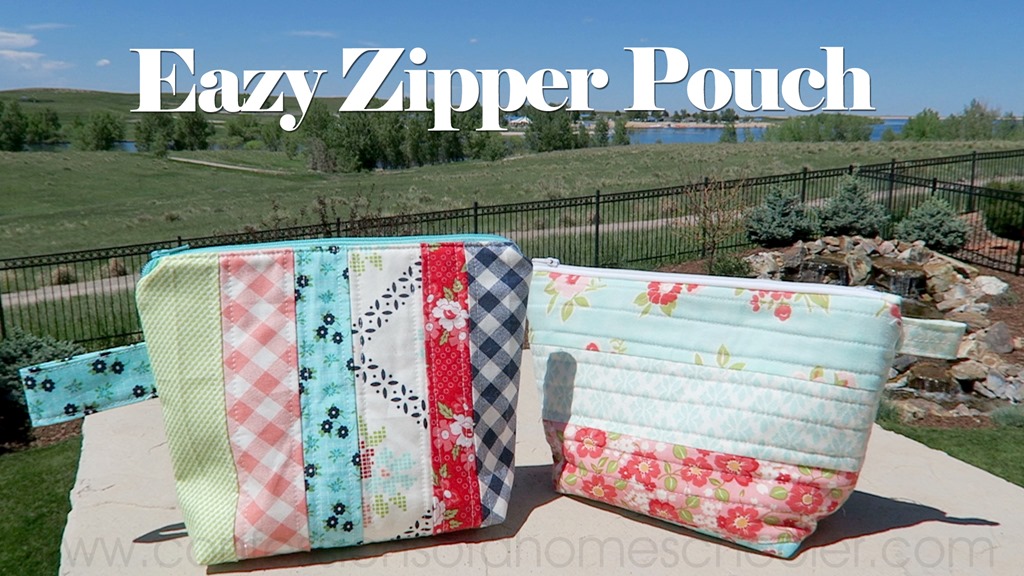
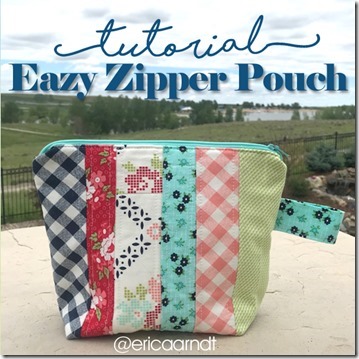
Good morning! It’s Thursday, and that means it’s time for another sewing tutorial! Today I’ll show you how to make this super EASY ZIPPER POUCH!
This project is very beginner friendly and even includes a little quilting if you’d like to get your feet wet! But don’t worry, there are instructions on how to skip that step if you want to make this bag even easier in the PDF download below!
Let’s get started shall we?
Watch my Easy Zipper Pouch video tutorial here:
Do you prefer written instructions?
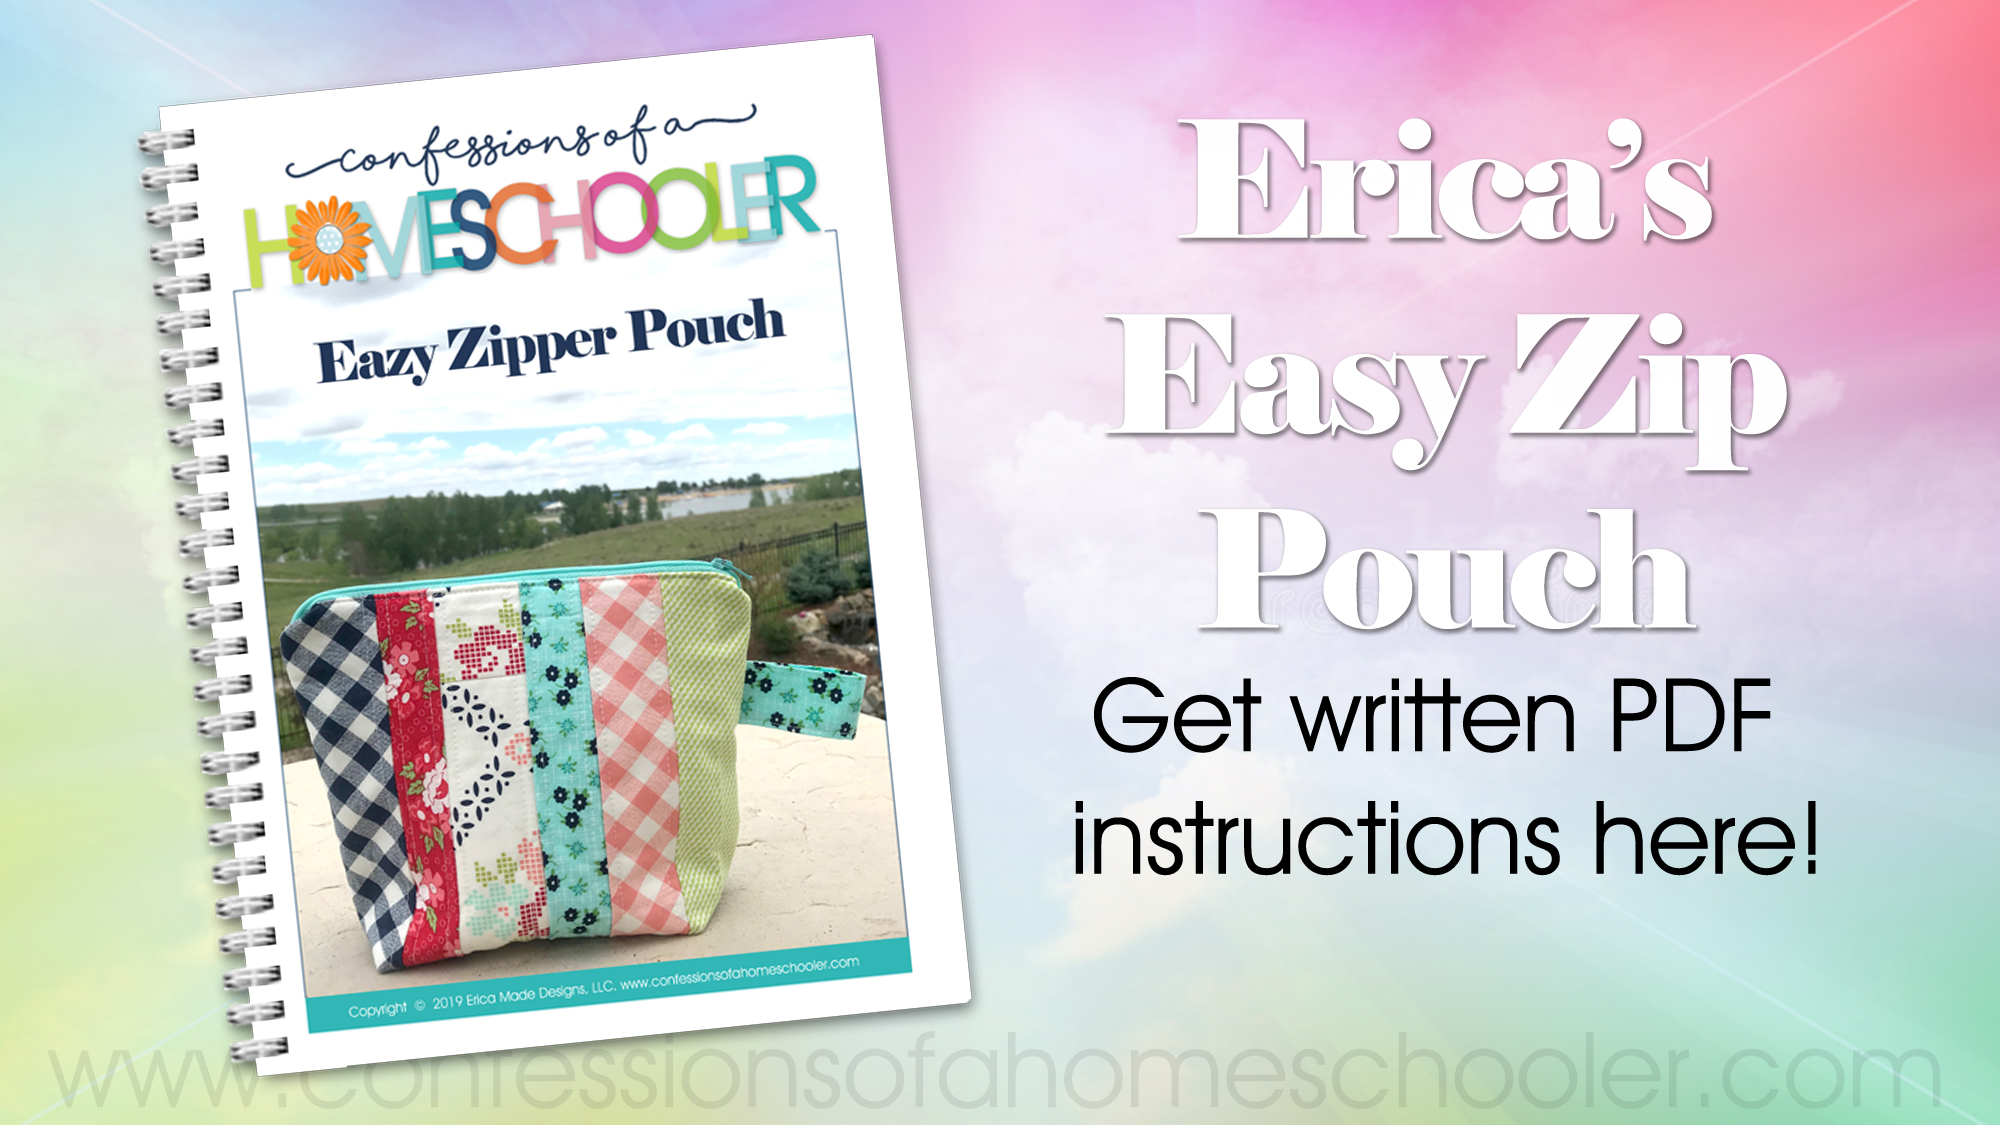
Get the Easy Zipper Pouch PDF written instructions with graphic illustrations here!
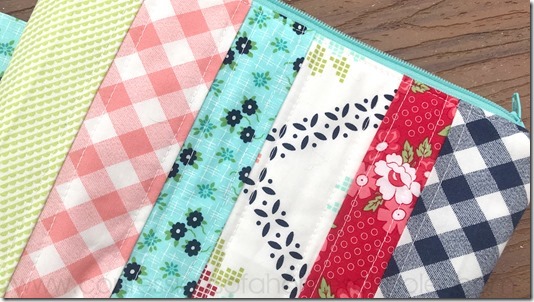
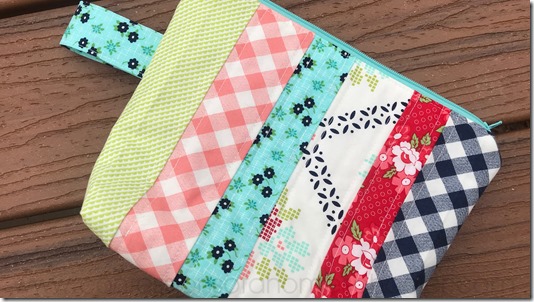
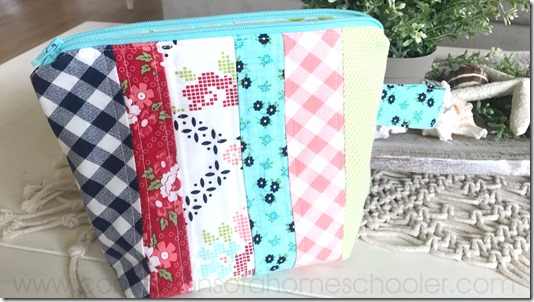
I just did simple quilting on this project to make the strips stand out. I used my regular sewing foot and just followed the seam lines stitching 1/4” away from them on either side.
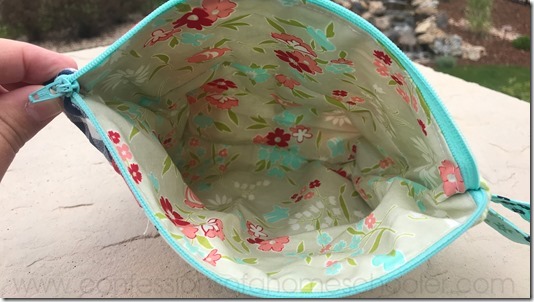
I used a fun floral print for the lining. This is from the Vintage Picnic line by Bonnie and Camille for Moda. It’s one of my favorites and I’ve been hoarding it for a few years LOL! But it’s so nice to see it being used in a project ![]()
I can’t wait to fill this bag with goodies! Of course it’s perfect for knitting, crochet, and stitching projects, but it’s even great as a makeup bag or for school supplies! Really you can put anything you want in this little zipper pouch!
Supplies used in this tutorial:
- Vintage Picnic Fabric by Bonnie and Camille for Moda
- Carol’s Box Corner Template
- 50wt Aurifil 100% Cotton Thread
- Creative Grids Ruler
- Panasonic Cordless Iron
- Wonder Clips
- Sewing Scissors
- Magnetic Pin Bowl
- Olfa 45mm Rotary Cutter
- OLFA 45mm Endurance Blade
- Frixion Erasable Pens
And that’s it friends! As you can see this project is super easy and perfect for storing all kinds of goodies from school supplies to craft supplies and more!
If you make this project make sure to tag me @ericaarndt on Instagram or Facebook and use #ericaseasyzippouch so I can see your projects!
Thanks for joining me today, I hope you enjoyed this tutorial!


Thank you! We love doing these projects as part of our homeschool and Keepers of the Faith group!