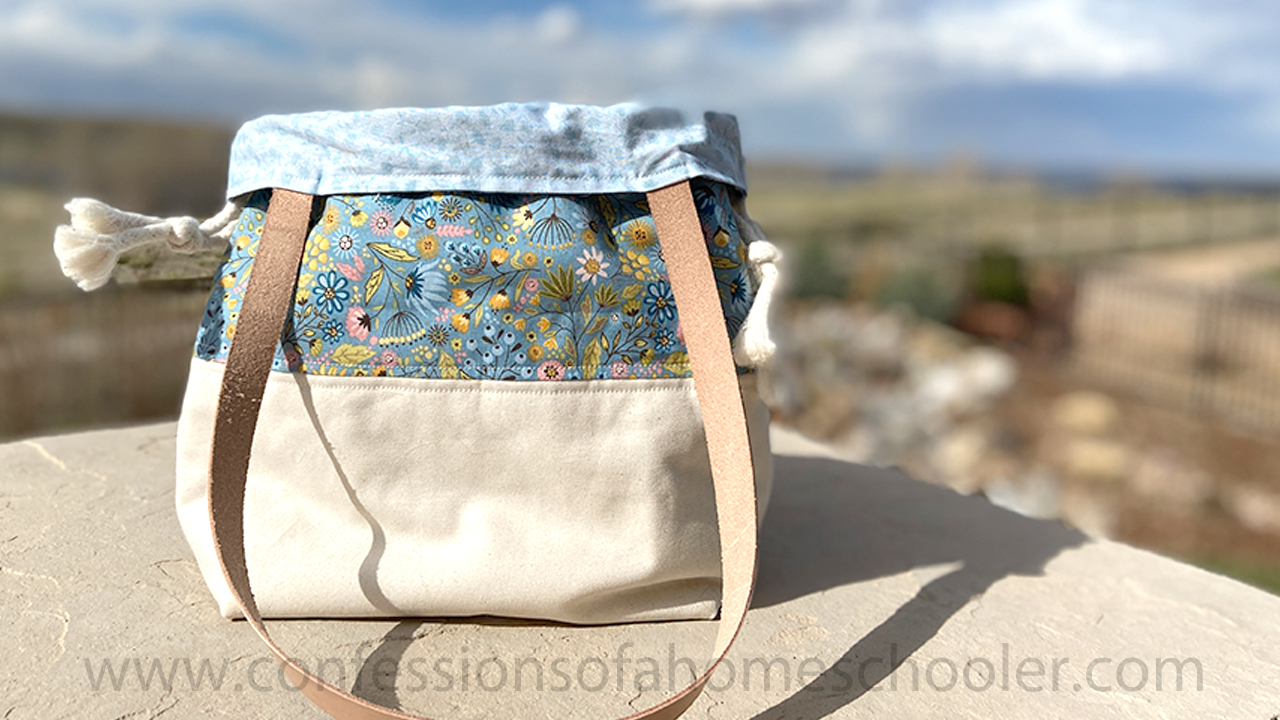
Happy Tutorial Thursday! Today I’m modifying my popular Drawstring Squishy Bag to add handles! I always like to take these to our local knit nights, and with me when running kids around. And handles make this already great bag even better!
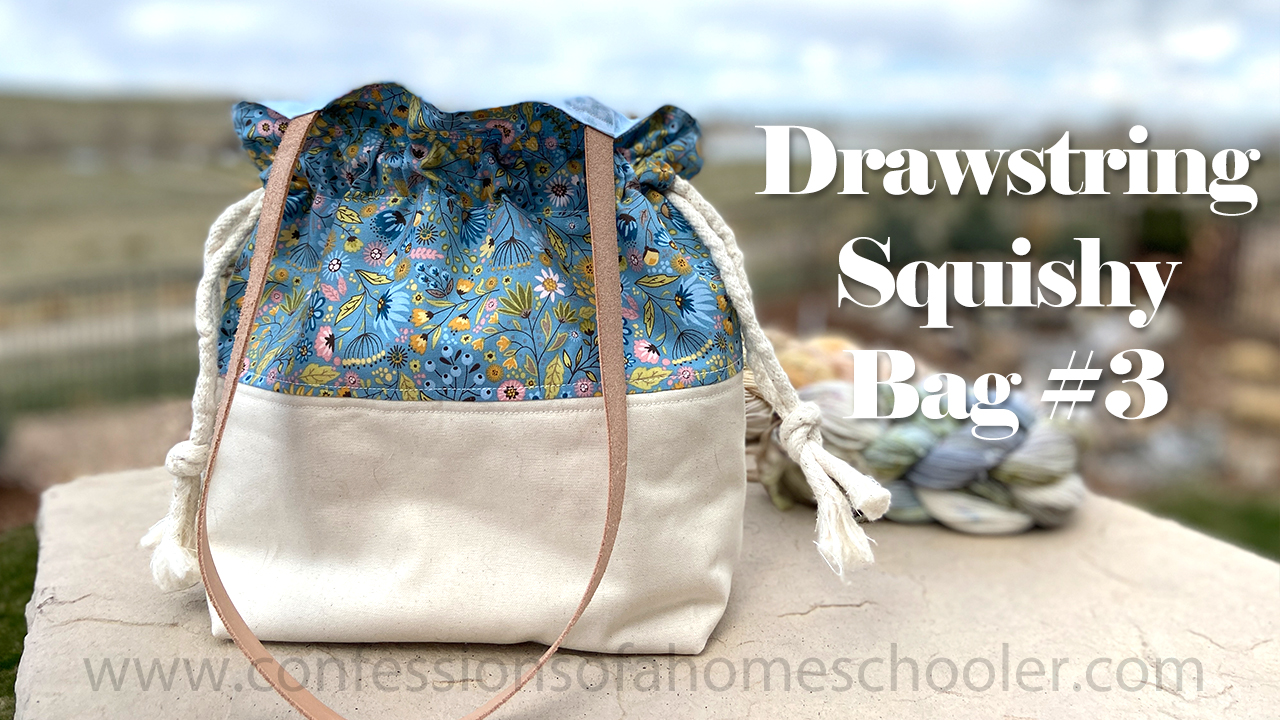
Video Tutorial:
Watch the Drawstring Squishy Bag 3 Video Tutorial here!
Do you prefer written patterns? Get the Drawstring Squishy Bag 3 PDF Pattern here!
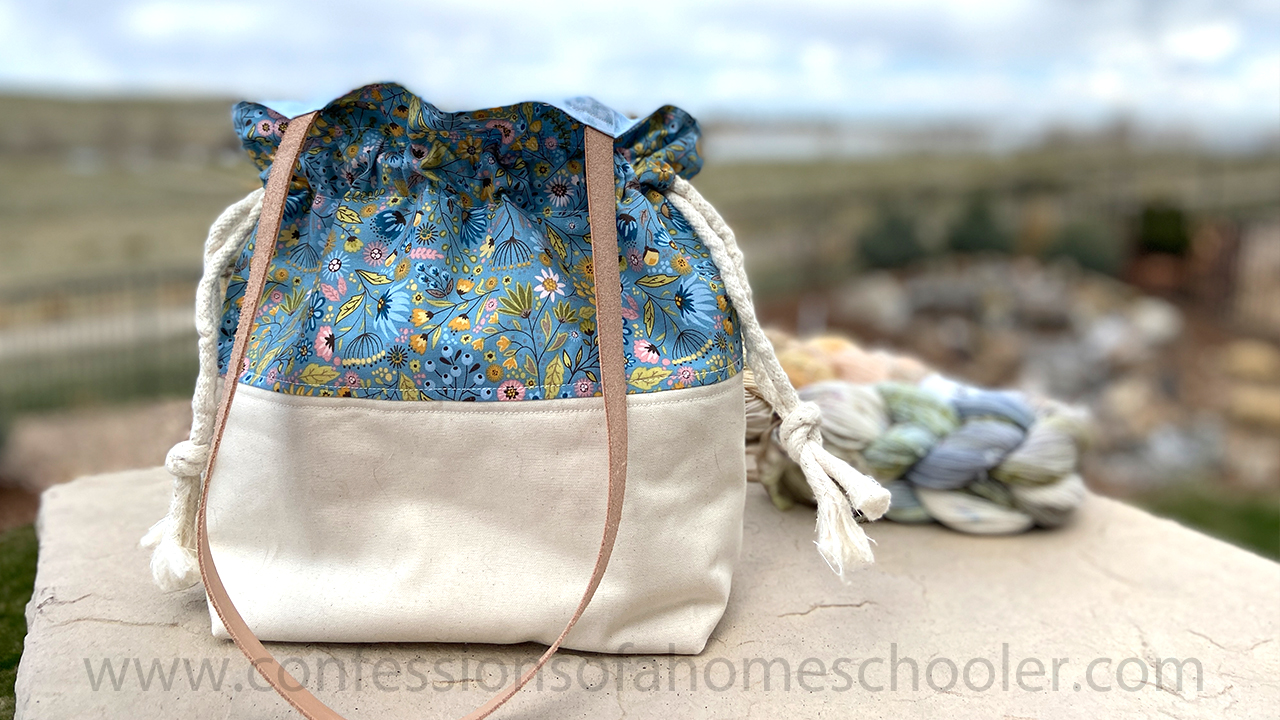
This project is so easy, and you can customize it to fit other tools like knitting needles, crochet hooks, and more!
The finished bag is approximately 13″ x 14″ and is perfect for holding your craft projects like knitting, crocheting, and stitching. Of course, you can also use it as a small purse to carry just about anything you like!
Get the Drawstring Squishy Bag 3 PDF Pattern here!
SUPPLIES FOR THIS PROJECT:
- 2 FQs of Outside fabric: cut (2) 15″ x 14″ OR (2) 7.5″ x 14″ and (1) 7.5″ x 14″
- 1/2 yard of Lining fabric: cut (2) 15″ x 14″
- Drawstring: (2) Cotton rope/ribbon 36″ long
- Cotton Quilt Batting/Interfacing: (2) 11″ x 14″
- Handle Straps: (2) 3/4″ x 26″
- Cotton Thread
- Juki TL2000 Qi
- Olfa Rotary Trimmer
- Oliso Pro Smart Iron
- Creative Grids Ruler
- My favorite Scissors
- Clover Wonder Clips
For this project I used the Wanderings fabric line by Poppie Cotton along with some natural canvas for the bottom.
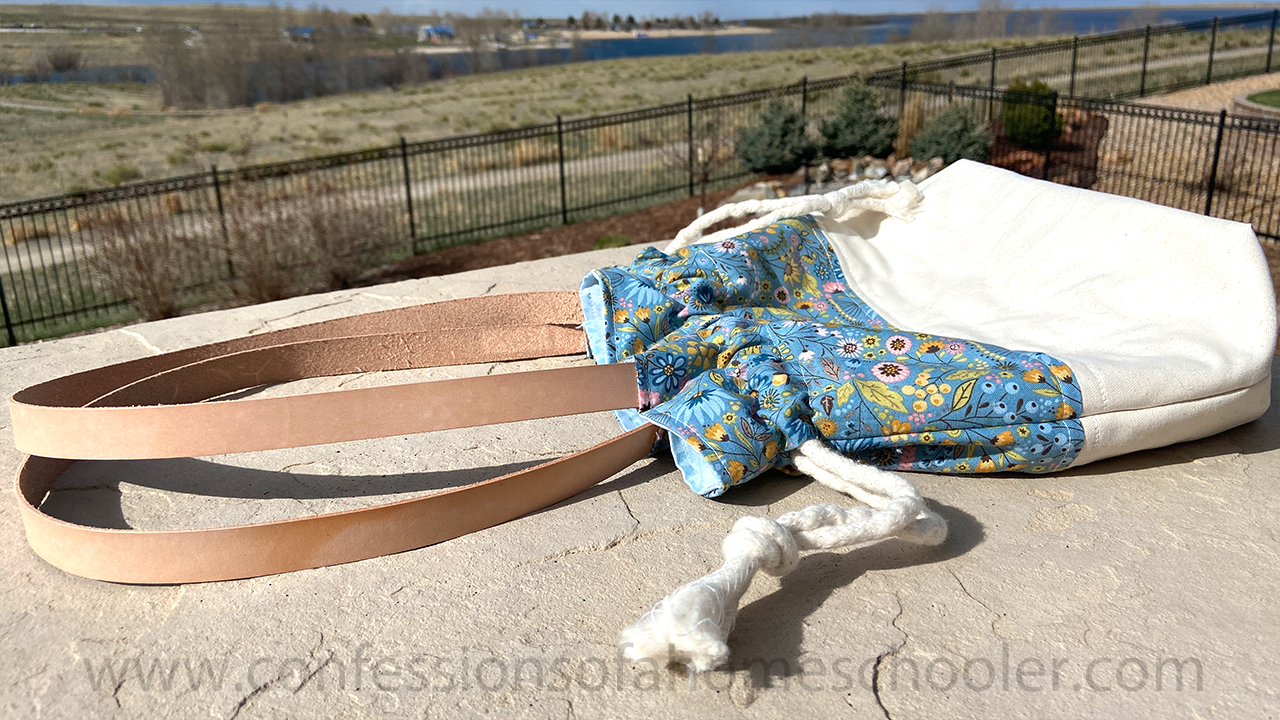
I decided to use this raw leather strap for my handles, which I love! But you can also make fabric straps if you prefer not to use the leather.
To make fabric handles, cut two pieces of fabric 4″ x 26″. Fold the long edges in 1/4″ and press. Then fold the whole strap in half lengthwise and press again. Place a 1-3/4″ x 26″ piece of quilt batting or interfacing inside the strap, then stitch down the long open edge to close the strap.
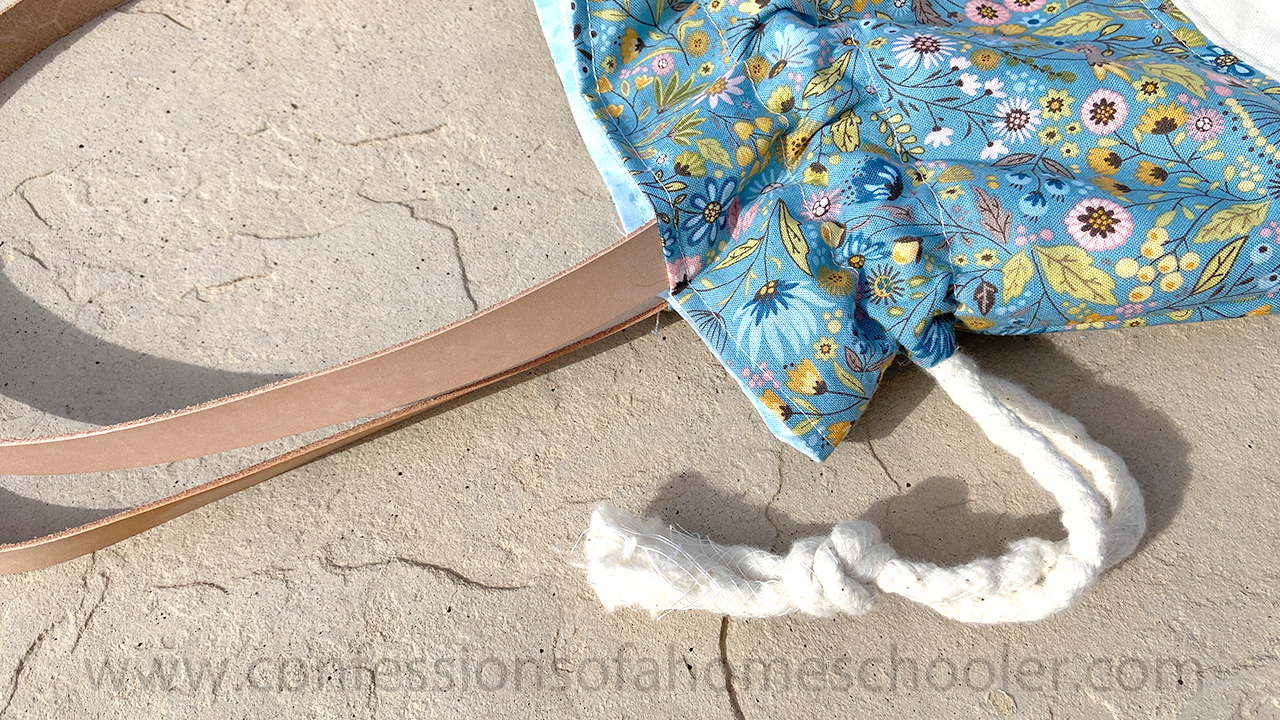
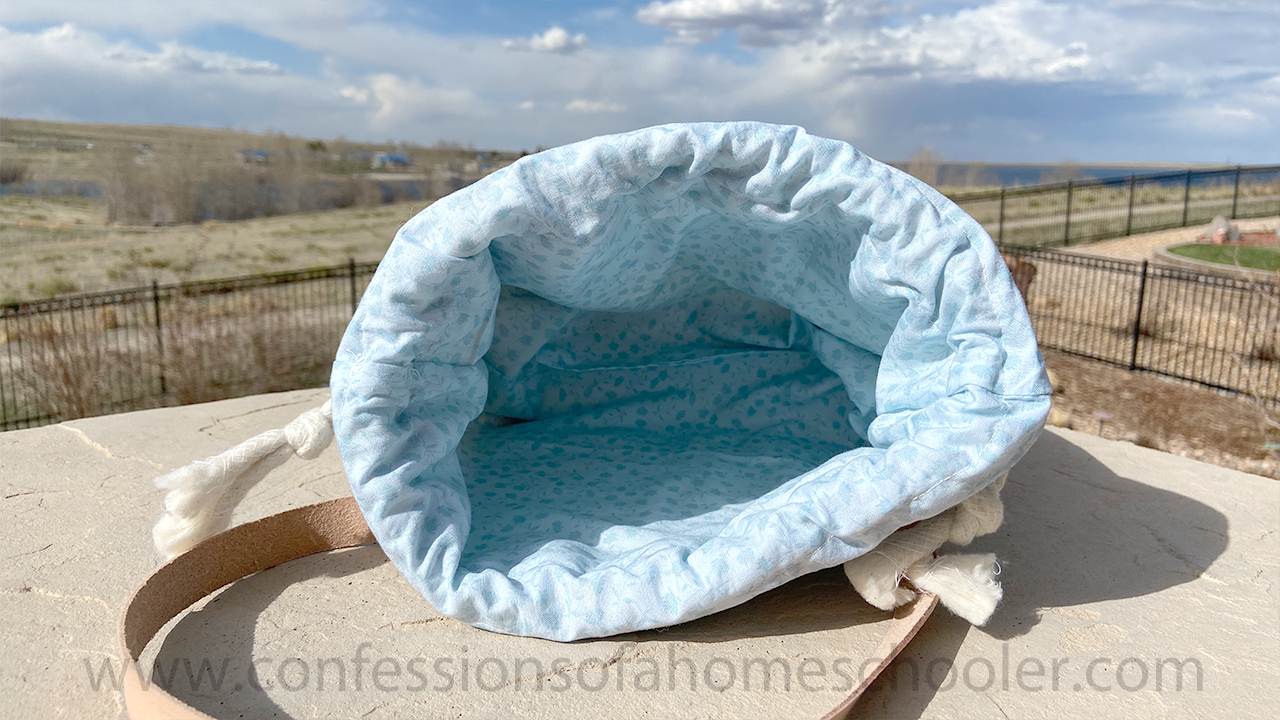
I used a soft blue for the lining and it’s just such a nice and relaxing color!

Nice idea !! Thanks for sharing.
What are the measurements of this bag?
The finished bag is about 13″ x 14″, all of the information is in the post 🙂