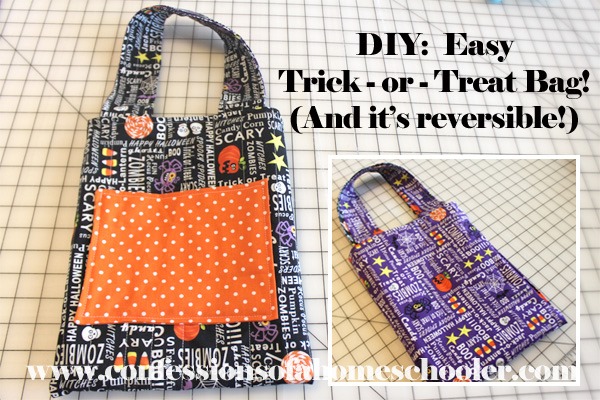
Hey guys! We made a super cute and easy treat bag for my daughter today and I wanted to share it with you! It was so easy, she sewed the entire thing herself. I helped quilt it, but really she could’ve done it on her own, we were just pressed for time so I helped out.
I know I titled this a trick-or-treat bag, but really you can use this pattern with any type of fabric you want. It’s super easy, and a great size for younger kiddos. I think it would make a great coloring book bag, library bag, or just “stuff” bag. You know how those little ones like to carry around their stuff LOL!
So let’s get started! Here’s what you’ll need to make your own cute bag!
Supplies:
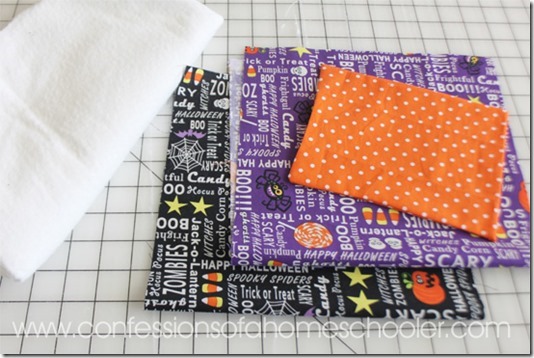
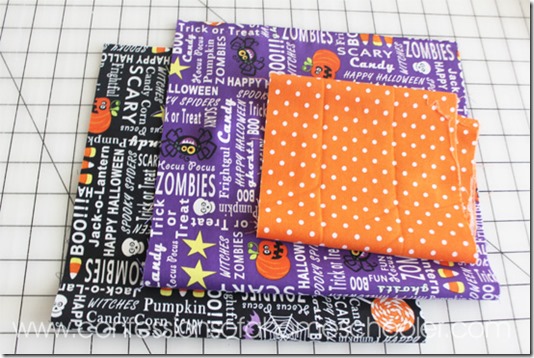
- (2) 1/4 yard WOF cuts (That is a 9” by WOF strip. You’ll need one fabric for the lining and one for the outside of the bag.)
- (1) 11” x 14.5” strip for the front pocket (This is optional, you don’t have to make a front pocket if you don’t want to!)
- (1) 11” x 27” piece of cotton batting (I use Warm ‘N Natural Cotton Batting, you can get it online or at a local craft store.)
- Fabric Adhesive (Optional. I use 505 Fabric Adhesive Spray, but you can also pin baste as well.)
- Rotary Trimmer: I use the Olfa Splash 45mm Rotary Trimmer
- Self-Healing Cutting Mat: I have the American Crafts Self-Healing Cutting Mat (Mine is 17” x 25”)
- Clear Acrylic Ruler: I like the Creative Grids Ruler, the 24.5” x 6.5” is my fave and most used!
Cutting Instructions: Cut in the following order
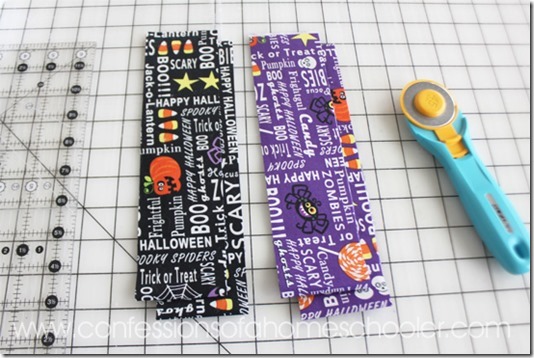
- Bag: Cut 1 piece 9” x 25” from both the outside fabric and the lining fabric.
- Handles: From your remaining outside and lining fabric cut (2) strips of 2.5” x 19” strips from each of the outside and lining fabric.
- Pocket: Cut 1 piece of pocket fabric into an 11” x 14.5” piece.
Pocket Assembly Instructions:
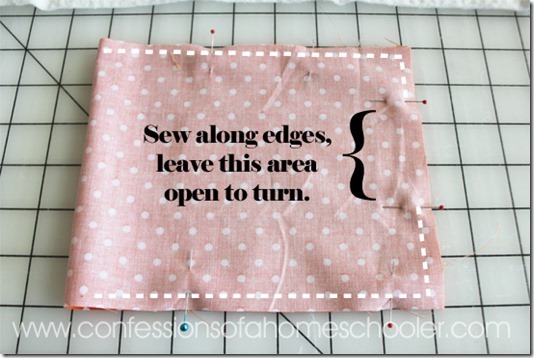
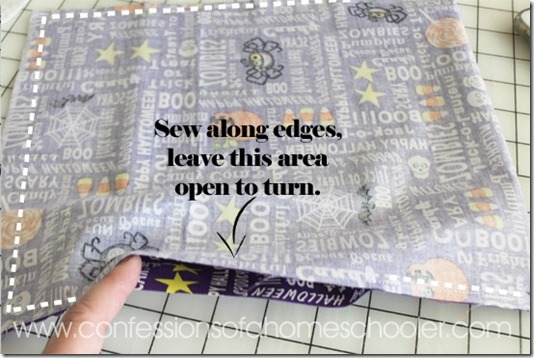
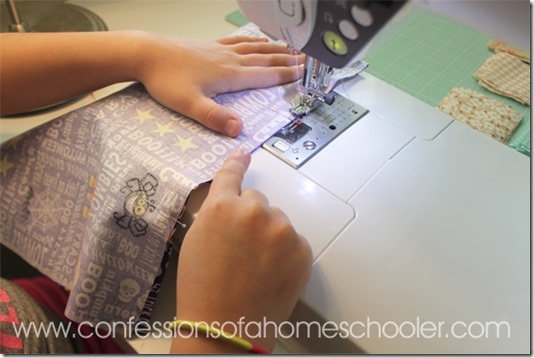
Fold the pocket fabric in half, right sides together, so it measures approx. 5.5” x 7”. Sew a 1/4” seam along the edges, leaving one side of the bag open to turn as shown below. You can really make your pocket any size you want to, this is just the size of coordinating scrap fabric that we had!
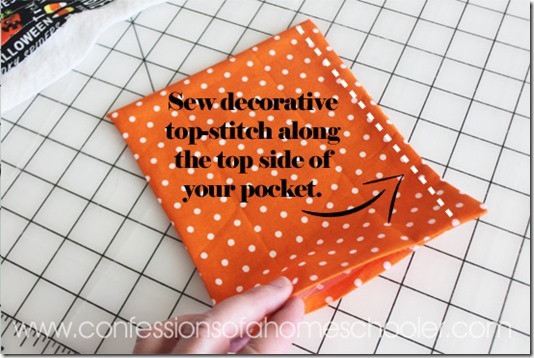
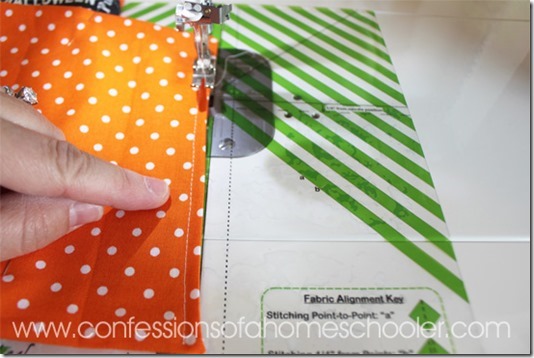
Turn the pocket right side out, then iron a 1/4” crease in the opening as shown below. Next sew a top-stitch along the top of the pocket as shown below. Set pocket aside.
Handles Assembly Instructions:
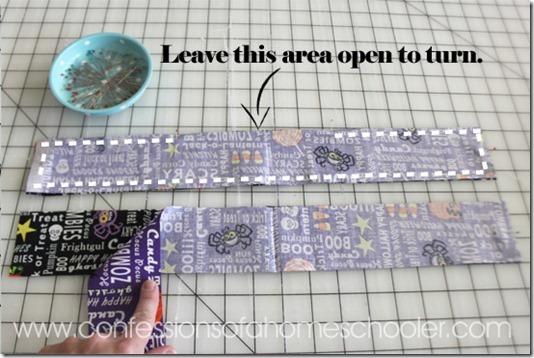
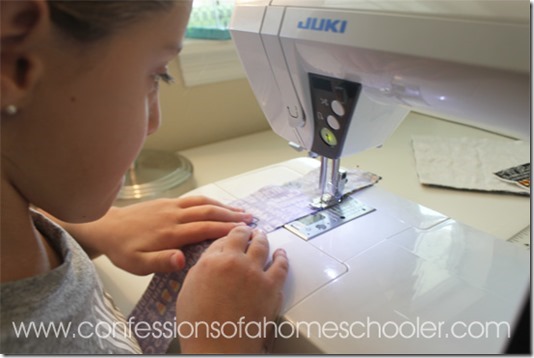
Place one of your lining and one of your outside fabric handle strips right sides together. Do this with the other set of handle strips too. Next sew a 1/4” seam along the edge, leaving a section along the long edge open to turn.
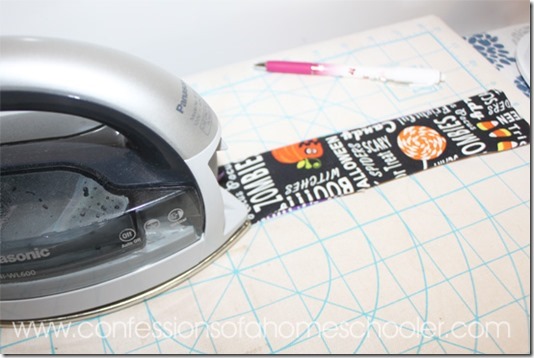
Turn the handles right sides out, use a pencil to carefully push out the corners, then iron to flatten the strips. I also like to iron a 1/4” seam in at the opening to make it easier to sew closed.
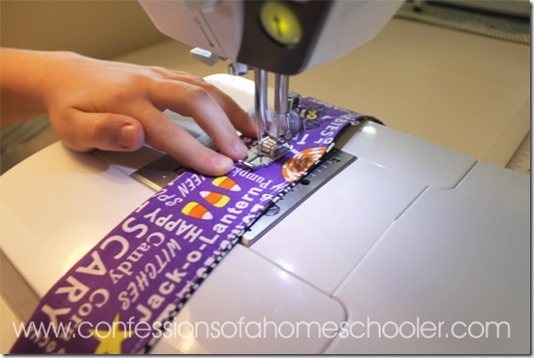
Next Run 3 or 4 top stitches down the handle strips just for decoration! We did one on each edge, then one down the center. Make sure one of your top stitches closes up your turn opening. Set your finished handles aside.
Bag Assembly Instructions:
Fold your lining fabric in half right sides together, and sew 1/4” seam along the edges of the lining. Make sure to leave an opening along one of the sides to turn your bag! Set lining aside. The lining should measure about 9″ x 12.5″ once folded.
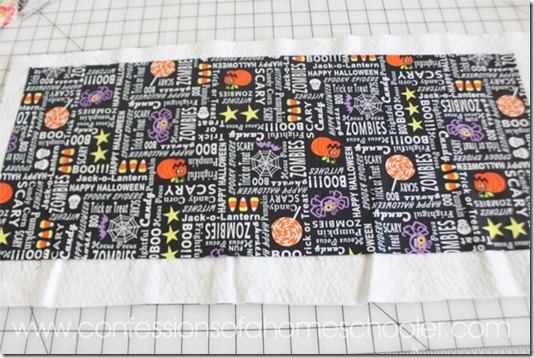
Next spray or pin baste the outside fabric to a piece of batting. I like to use 505 Spray Adhesive, especially with a project this small. It’s fast and easy!
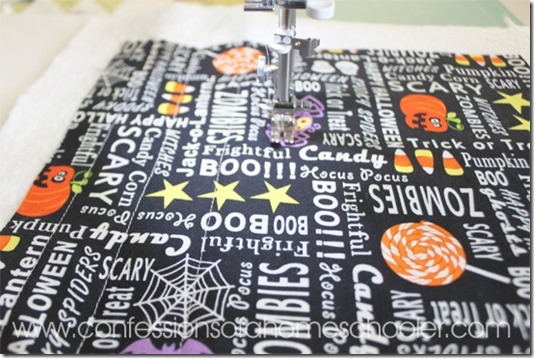
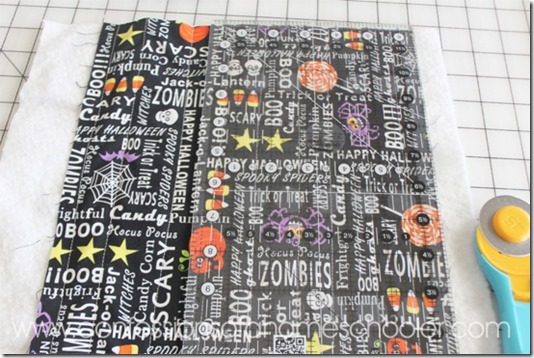
Sew some quilting stitches across it for decoration.We just did several straight stitches down the bag, but you can do whatever you want!
Next trim the outside quilted fabric strip to measure 9” x 25”.
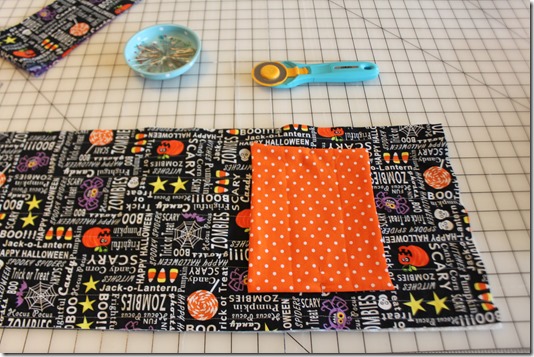
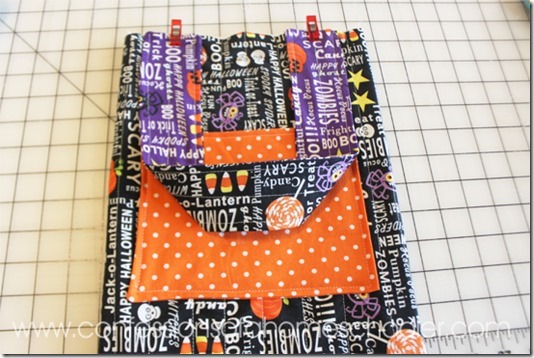
Next center the pocket completed in the beginning of the project onto your bag. I placed it about 4.5” down from one end of my bag.
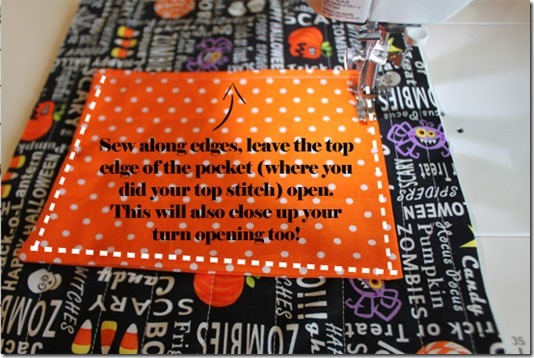
Sew along pocket edges, leave the top edge of the pocket (where you did your top stitch) open. This will also close up your turn opening too!
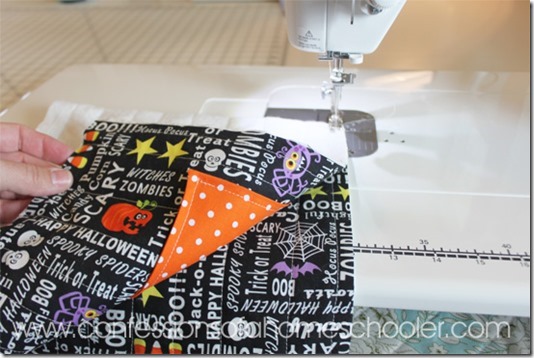
Next fold the outside quilted piece in half, right sides together, and stitch up both right and left sides of the bag, leaving the top of the bag open. The folded bag should measure 9″ x 12.5″.
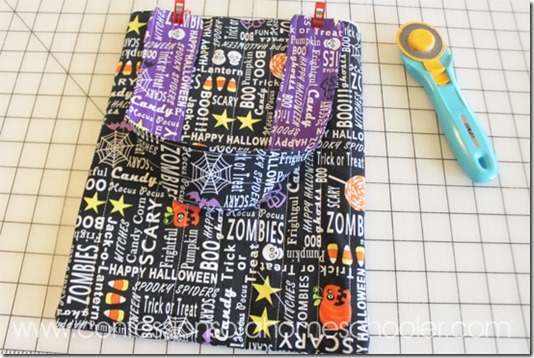
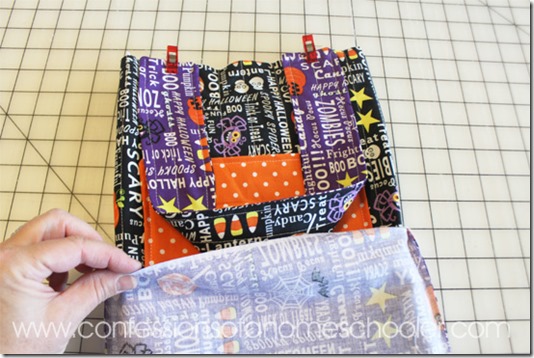
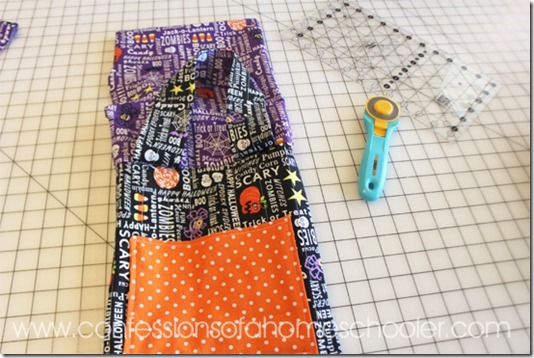
Next turn your bag right side out. Taking one handle, lay it with the outside fabric facing the bag and clip each edge of the handle strip to your bag about 1” in from each side like shown below.
Flip your bag over and repeat this process to attach the 2nd handle strip to the other side of your bag.
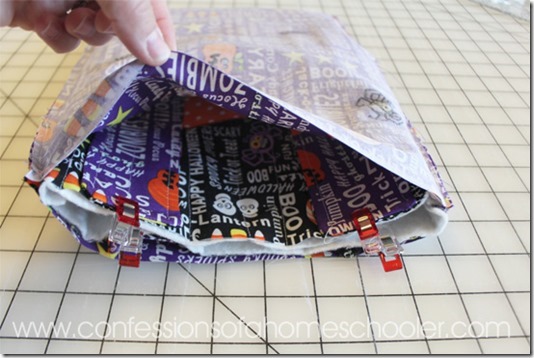
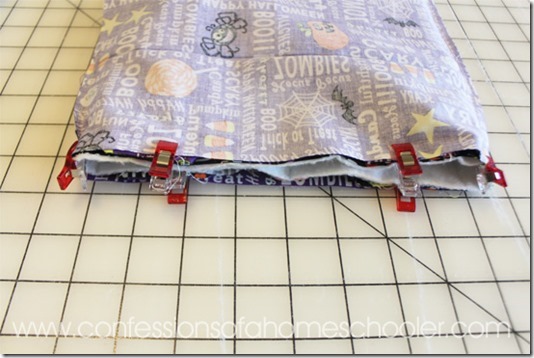
Next place the entire bag unit inside of your lining fabric so the right side of the lining is touching the right side of outside of your bag. Make sure to stuff the handles into the lining as well.
Make sure your handle strips are still clipped in position as well.
Clip or pin everything in place. I like to start at the side seams and line them up first. Then I pin the rest of the bag edges.
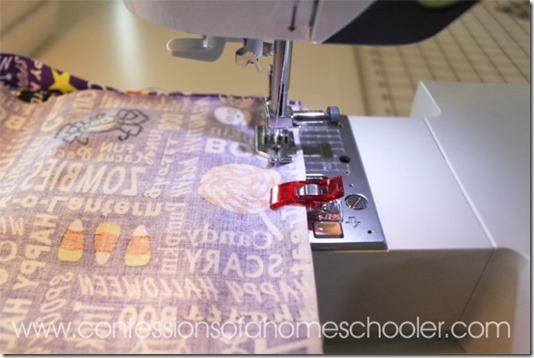
Next, sew a 1/2” seam along the entire edge of your bag. Make sure you catch your handles in the seam as well. I like to back stitch a couple of times over the handle area just to give it a bit more stability.
Now you can turn your bag right sides out through the opening you left in your lining fabric! Your bag should look like this.
Next just stitch up the opening in your lining, then tuck it down inside of your bag and straighten out the corners and top edges of your bag.
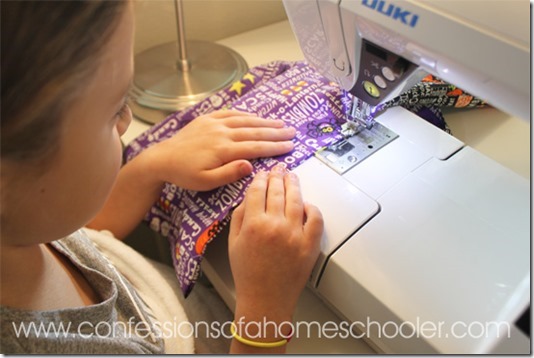
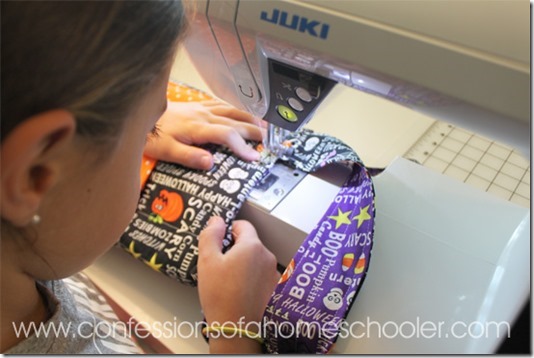
We’re almost done! The last step is to run a 1/4” top stitch along the top of your bag just to help keep everything in place. Go slow over the handles and side seams as this will be a thicker area.
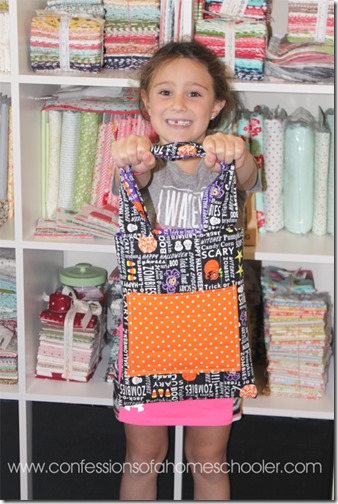
And that’s it! You’re all done! Super easy right! My 7 year old did almost all of the work herself. I did help cut as the rotary cutters are super sharp! The whole project took us about an hour.
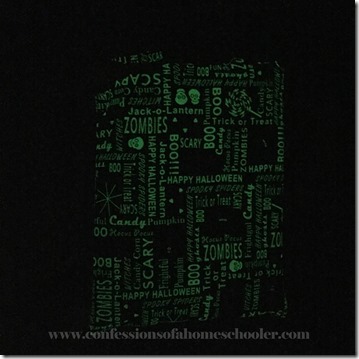
And to make things more exciting, the fabric we purchased was glow-in-the-dark, which is always super fun! Plus it’ll help me keep an eye on this little girl!
I hope you enjoy this tutorial, and if you make a bag, make sure to tag me on social media, and let’s use #DIYTreatBag to see what you all make!
To keep up with our shenanigans, feel free to follow me:
- YouTube Channel
- Instagram (LOTS of quilty goodness there!)
Here are a few more of my Quilting Tutorials online if you’re just getting started:
- Sherbet Stars Quilt Tutorial
- Pink Pig Rag Quilt Tutorial
- DIY Tic-Tac-Toe Board Game (*Great for learning beginning skills!)
- Patchwork Book Cover
- Quilt-as-you-go Book Cover
- Kids Pillow with Pocket
- How to Applique’ Basics (Don’t worry it’s super easy!)
- Thread Catcher Tutorial


So cute!!!
Thanks!
I’m in the middle of making one of these darling bags, and am a little confused. You have a measurement for the batting SMALLER than the measurement than the outside fabric measurement. I’m confused on that part. Other than that, I’m super excited to make 2 of these for my kiddos!
Hi Amanda,
Oh, I’m so sorry for any confusion! I updated batting, it should read about 11″ x 27″. Sorry about that!!
We made this but the inner bag sewing was confusing…I had to rip the seams and resew in order to have the opening at the top to insert the outer bag and then rip out some of the side to turn inside out (I could have left it open when resewing but was confused by then) also, my kids were a bit disappointed in the size. I think you meant it to be bigger..based on the size of batting you said we needed. In all, this was still a fun project as I teach my ten year old (and me really since all I do is piece quilt tops LOL) to sew. 🙂
Hi Katrina,
No the batting size is bigger to allow for movement of the fabric when quilting. The bag size is what we meant it to be. It worked well for my daughter last night, she filled it!
I’m sorry the inside was confusing. When creating a bag the easiest way is to leave the lining fabric inside out with a hole in the bottom or side and the top open. Then you place the outer bag inside the lining, right side out. Then sew together along the top edge and turn the bag right side out through the opening in the lining. It can be difficult to describe in photos and words though, sorry for any confusion!