This craft is super easy and produces beautiful results!
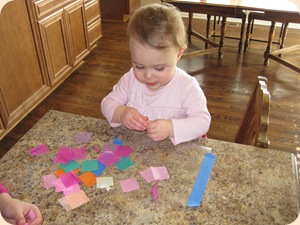
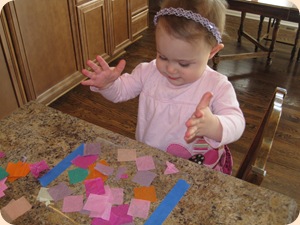
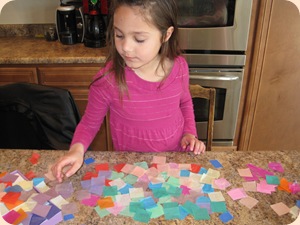
It was also the Teeny Tiny Tot’s first craft! (Usually we do crafts while she’s sleeping, you can image why…) I have to say she was thrilled to be involved! And she did an excellent job.
Supplies:
-
Contact Paper
-
Tissue Paper
-
Scissors
-
Sharpie
-
Tape (to hold contact paper down while you work)
Step 1: Take backing off of clear contact paper, and lay sticky side up. Secure to counter with tape.
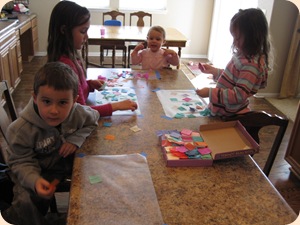
Step 2: Place lots of colorful pieces of tissue paper all over the contact paper.
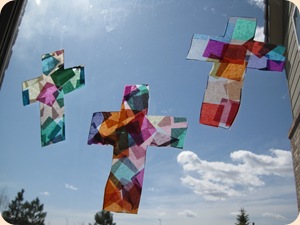
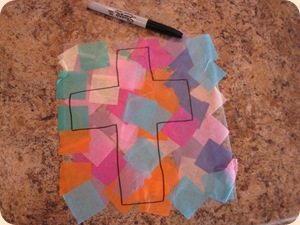
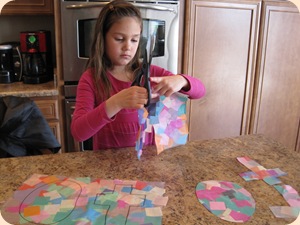
Step 3: Cut another piece of Contact paper that’s the same size and place it sticky side down on top of your tissue paper covered contact paper. Draw desired shape on with a sharpie, and cut out objects.
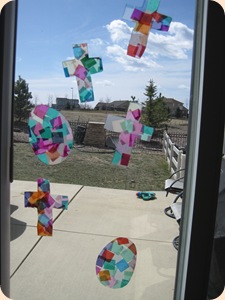
Step 5: Hang on window for display! (We used scotch tape to stick it on the window) We made eggs and crosses to celebrate Easter, but you could easily do any design you want!
Happy Easter!


Thank you! Going to use this at Children’s Church this Sunday! Was trying to figure out what craft to do with the crusifiction. This is great!! I love your blog since I have started homeschooling in November!
Love this craft idea! Thanks for sharing!!!
Great idea! Where did you find the tissue paper squares?