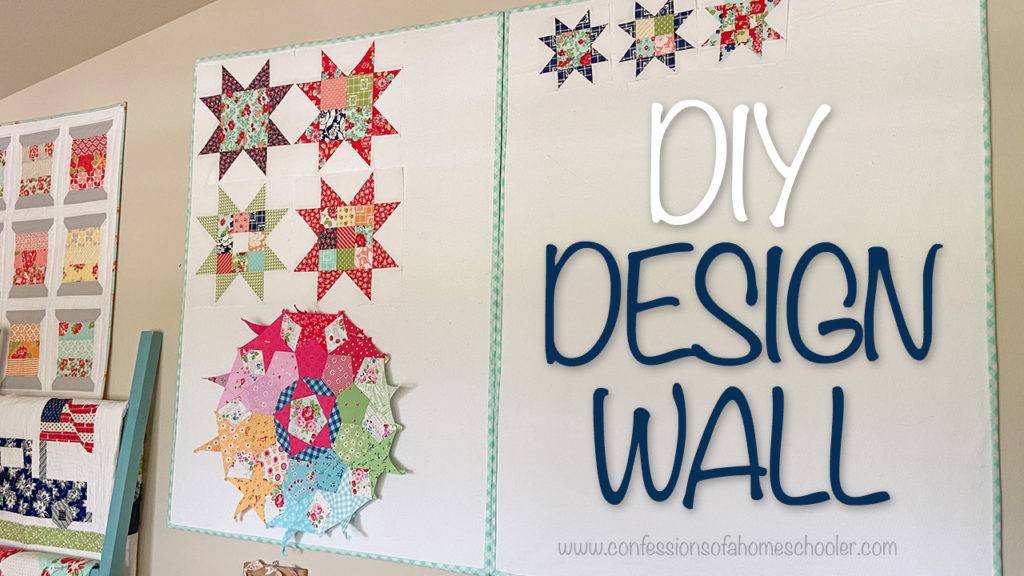
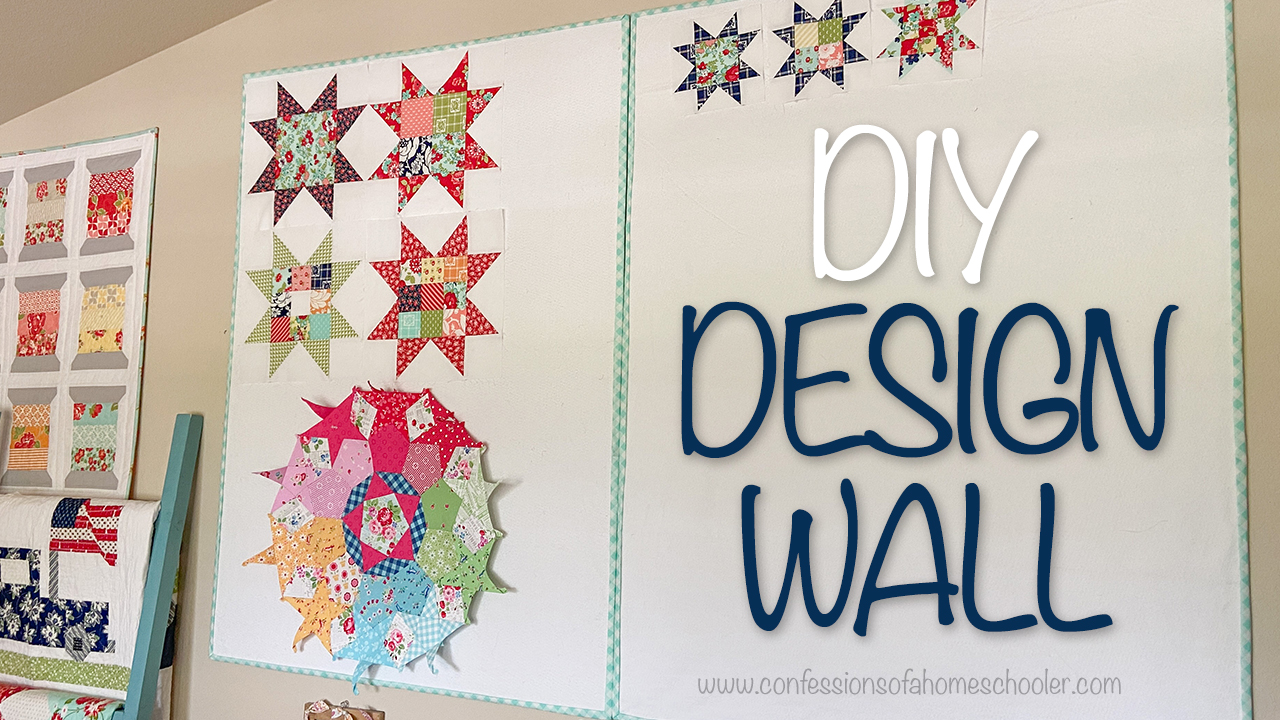
Happy Thursday friends! For today’s tutorial, I’m showing you how to make this DIY Design Wall! It is super easy and I love being able to display my in-progress projects!

For those of you who are new to design walls, they are just a way to layout your quilt blocks as you work. You can re-arrange them, add blocks as you go, and get all of your blocks organized before you assemble your project. Plus it is decor in itself, so your otherwise blank wall looks pretty while you work!
Ready to get started? Watch my DIY Design Wall Video Tutorial here:
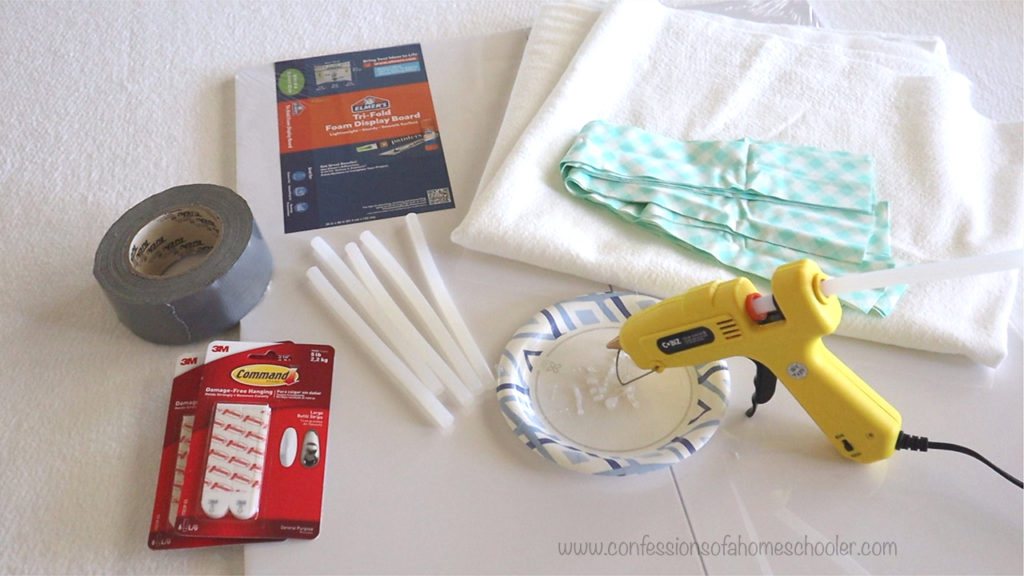
Supplies:
- Tri-Fold Foam Display Board (I used two 36″ x 48″ so my finished wall is 4′ x 6′, of course, you can use any size you like)
- Quilt Batting
- Hot Glue Gun & Glue Sticks
- Olfa 45MM Rotary Cutter


Erica lovely tutorial. What is the fabric you used for the border?
I used a Bonnie and Camille aqua gingham print.