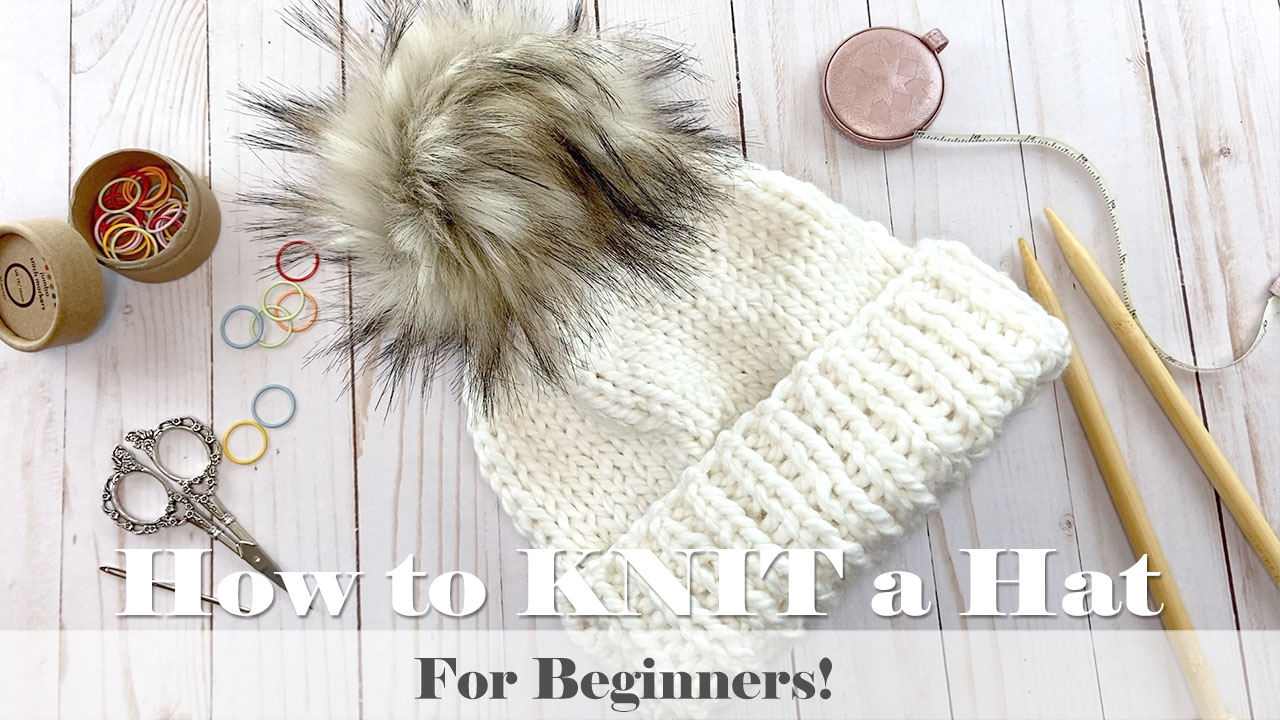
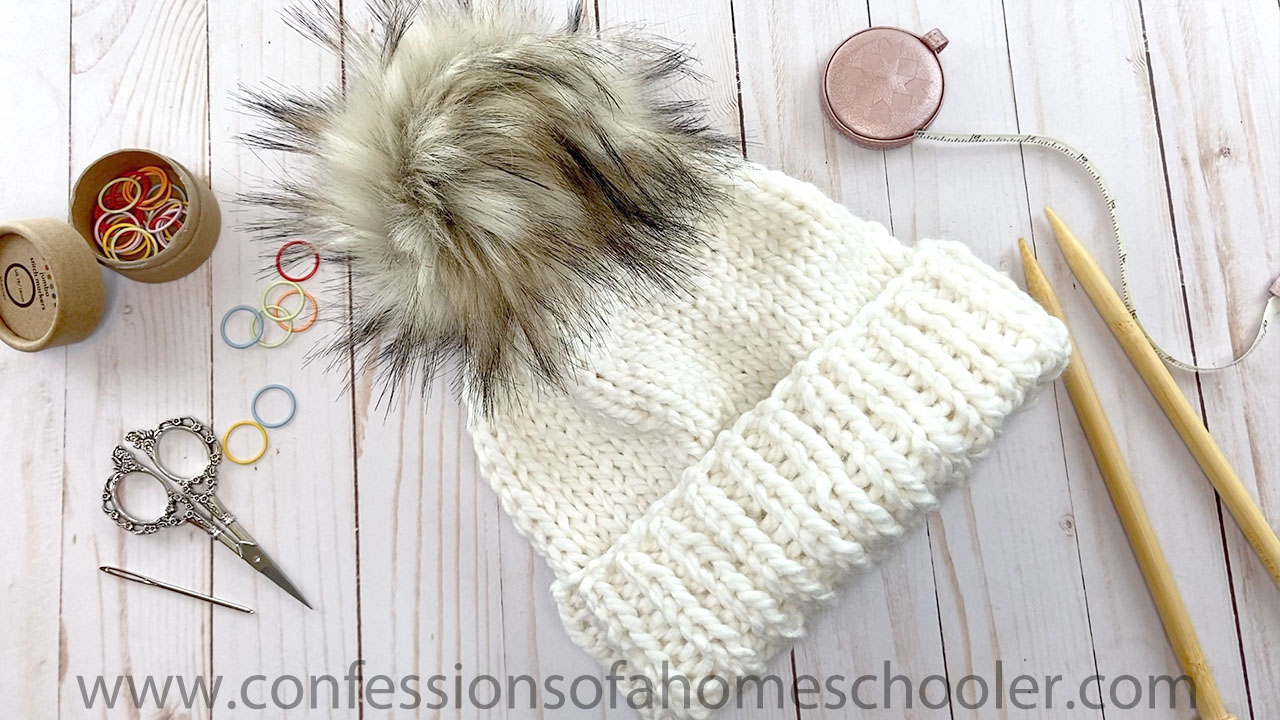
Hi everyone! I have a super easy knitting project for you today! I’m going to show you how to knit this super cute chunky beanie! It’s very easy and beginner friendly, but if you haven’t already watched my How to Knit series videos you may want to check those out before beginning this project.

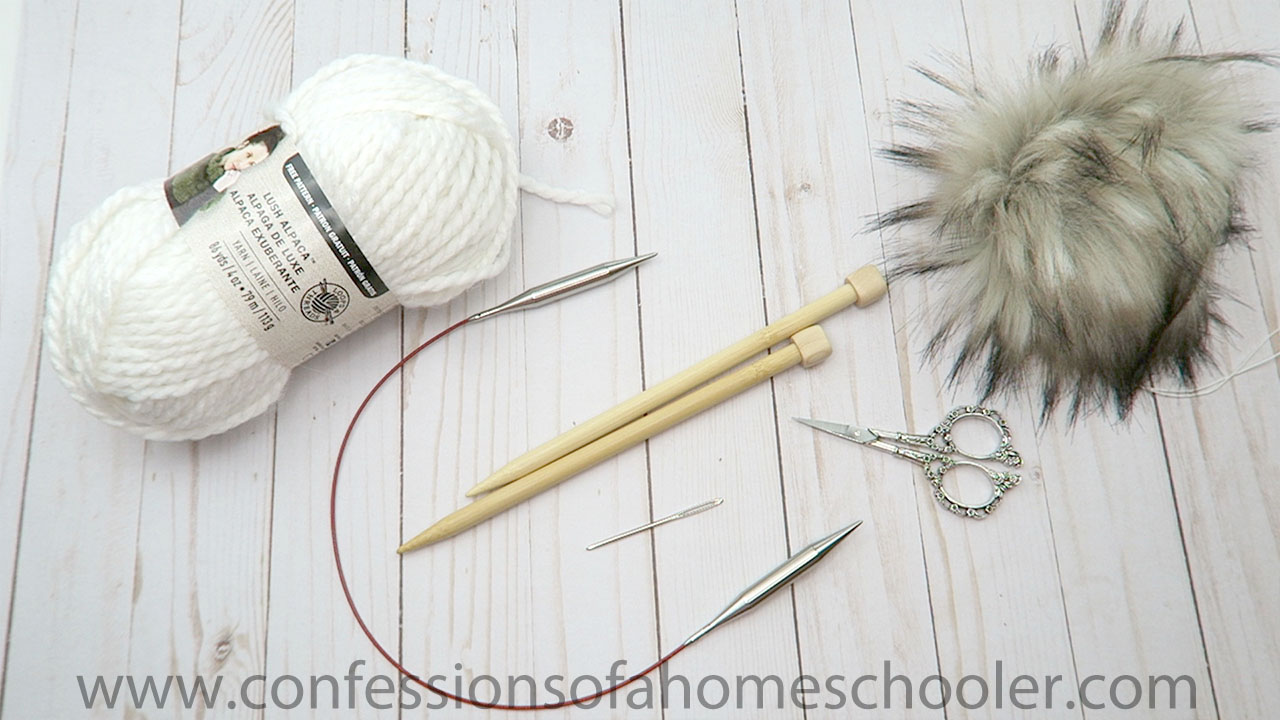
Let’s start with supplies, for this tutorial you will need:
- Chunky 6 weight yarn, here is a similar yarn to what I used in the tutorial
- US15 16″ Circular Knitting Needles
- US15 Straight Knitting Needles
- CocoKnits Jumbo Stitch Markers (Alternate: tie a different colored piece of yarn on your needle to mark your round!)
- Scissors by Warm Crochet
- Yarn Needle
- Life’s Little Things Pom (Optional)

Ready to get started knitting? Watch my How to Knit a Scarf for Beginners video here!
WRITTEN INSTRUCTIONS:
Step 1: Cast on 48 stitches
Step 2: P1, K1 around until your brim is about 5″ tall for a folded brim or 1.5″ for a non-folded brim.
Step 3: Knit around for another 6.5″ so your finished project is about 11-11.5″ tall from brim to needles.
Step 4: Begin Decrease Rows:
- Row 1: K6, K2tog
- Row 2: K5, K2tog
- Row 3: K4, K2tog
- Row 4: K3, K2tog
Step 5: To finish cut your yarn leaving a 10″ tail. Use a yarn needle to sew through the remaining stitches and secure with a knot on the inside of the hat. Weave in your ends and you’re done!
Optional: Add a fun POM if you want to be a little extra! Mine is from Life’s Little Things and it’s soooo fluffy!
HELPFUL TUTORIALS

And that’s it friends! As you can see this is a super easy project and lots of fun too! I hope you enjoyed this tutorial. Stay tuned I have more beginner friendly knitting projects coming your way!
